.avif)

Have you ever tried enlarging an image and ended up with a pixelated image? It's a common problem faced by all. With modern devices having 4K, 5K, and even 8K displays, standard images look pixelated when displayed over there. They appear grainy, lack details, and often hurt the brand's presence.
That brings us to the big question: What does it mean to upscale an image? Is it just about making the image bigger or something more? The truth is that upscaling is not just about resizing; it's about adding pixels.
Traditional upscaling was done using interpolation of pixels methods that often stretch the images and lead to jagged edges. But with the help of AI-based upscaling tools like Pixelbin, others can predict missing details and then upscale the image. Let’s dive into more details.
What does it mean to upscale an image?
Image upscaling is the method of increasing the dimensions and adding new pixels to an image. When you try to enlarge an image by stretching it beyond its original resolution, it becomes pixelated. But now these complexities are no longer a challenge with some excellent AI tools that you will come across in the blog.
Why is image upscaling important?
Before we jump into how it works, let’s understand why this process matters:
- Adapting the image to high-resolution displays- Devices like smartphones, tablets, laptops, and smart TVs are equipped with Ultra HD displays. These displays determine every small flaw in low-resolution images. Image upscaling ensures your photos look crisp and clear.
- Reusing old and low-quality images- Graphic designers, content creators, and marketers often rely on old assets that were created at lower resolutions. AI upscaling tools can make old images breathe by adding pixels in learned patterns.
- Saving time and money- Reshooting a photo or redesigning an image can be time-consuming as well as costly. Upscaling with AI tos allows you to analyse and optimize existing resources and still deliver high-quality output.
- Optimizing web performance- Some platforms prefer using a smaller image size to maintain page loading speeds, and then dynamically upscale them using AI for display.
How does image upscaling work?
Image upscaling increases the size of a low-resolution image while attempting to preserve or enhance details.
AI upscaling aims to add details, not just preserve them, but traditional upscaling only enlarges without truly preserving detail fidelity. Know them in detail below;
1. Traditional upscaling
Traditional methods perform upscaling by pixel interpolation through the following methods;
- Nearest neighbor: Duplicates nearby pixels. Fast, but results in jagged edges.
- Bilinear: Averages 4 neighboring pixels to create new ones. Smoother, but blurry
- Bicubic: Uses 16 neighboring pixels for a slightly better result.
Drawbacks: These methods can only stretch existing pixels. They don’t introduce new details, so the more you enlarge, the worse it looks.
However, image upscaling through Photoshop offers AI plugins (like Super Zoom, Preserve Details 2.0, and Neural Filters) that use deep learning for upscaling. GIMP was traditionally pixel-based; now it can be extended with plugins like G'MIC for better quality. But the older versions are inferior to modern AI-based upscalers.
2. AI upscaling
In contrast, AI upscaling goes beyond stretching pixels. It uses trained models to reconstruct and enhance image details, resulting in much better texture and realism. With AI tools, upscaled images often have:
- Sharper edges and details
- Realistic appearance after upscaling
- Removes noise as the image is upscaled by factors of 2x, 4x, or 8x scale size
Benefits of AI upscaling:
- Generates a more realistic, sharp image
- Reduces blur and pixelation
- Learns patterns like skin, fabric, architecture, etc.
- Ideal for portraits, product images, and digital art
Best AI tools to upscale images online
Looking for the best AI tools to upscale an image, but confused about how to know the best one? No worries. We have enlisted the top ones worth exploring:
- Pixelbin
- Upscale.media
- IMG2Go
- Pixelcut
- Picsart
- DeepImage
- Fotor
1. AI image upscaler by Pixelbin
Whenever I am in search of AI tools to upscale an image, I go to my one-stop place, Pixelbin. This tool efficiently enhances low-resolution and small-sized images. For example, when I added an old photo with very low pixel quality, the result appeared much clearer and more detailed. The best thing about Pixelbin is that you can access 4x or 8x upscaling by signing up for free credits, with no payment required to get started. In addition, it processes images quickly while preserving quality throughout the upscaling process. Features that made me a fan of Pixelbin;
- Simple and beginner-friendly AI-powered image upscaling
- Supports batch processing for heavy work
- Upscale image size available for 2x, 4x, and 8x
- API integration is available for developers
- Free credits on sign-up
- High-quality image enhancement
How to upscale an image in Pixelbin?
Step 1: Head over to https://www.pixelbin.io/ai-tools/image-upscaler.
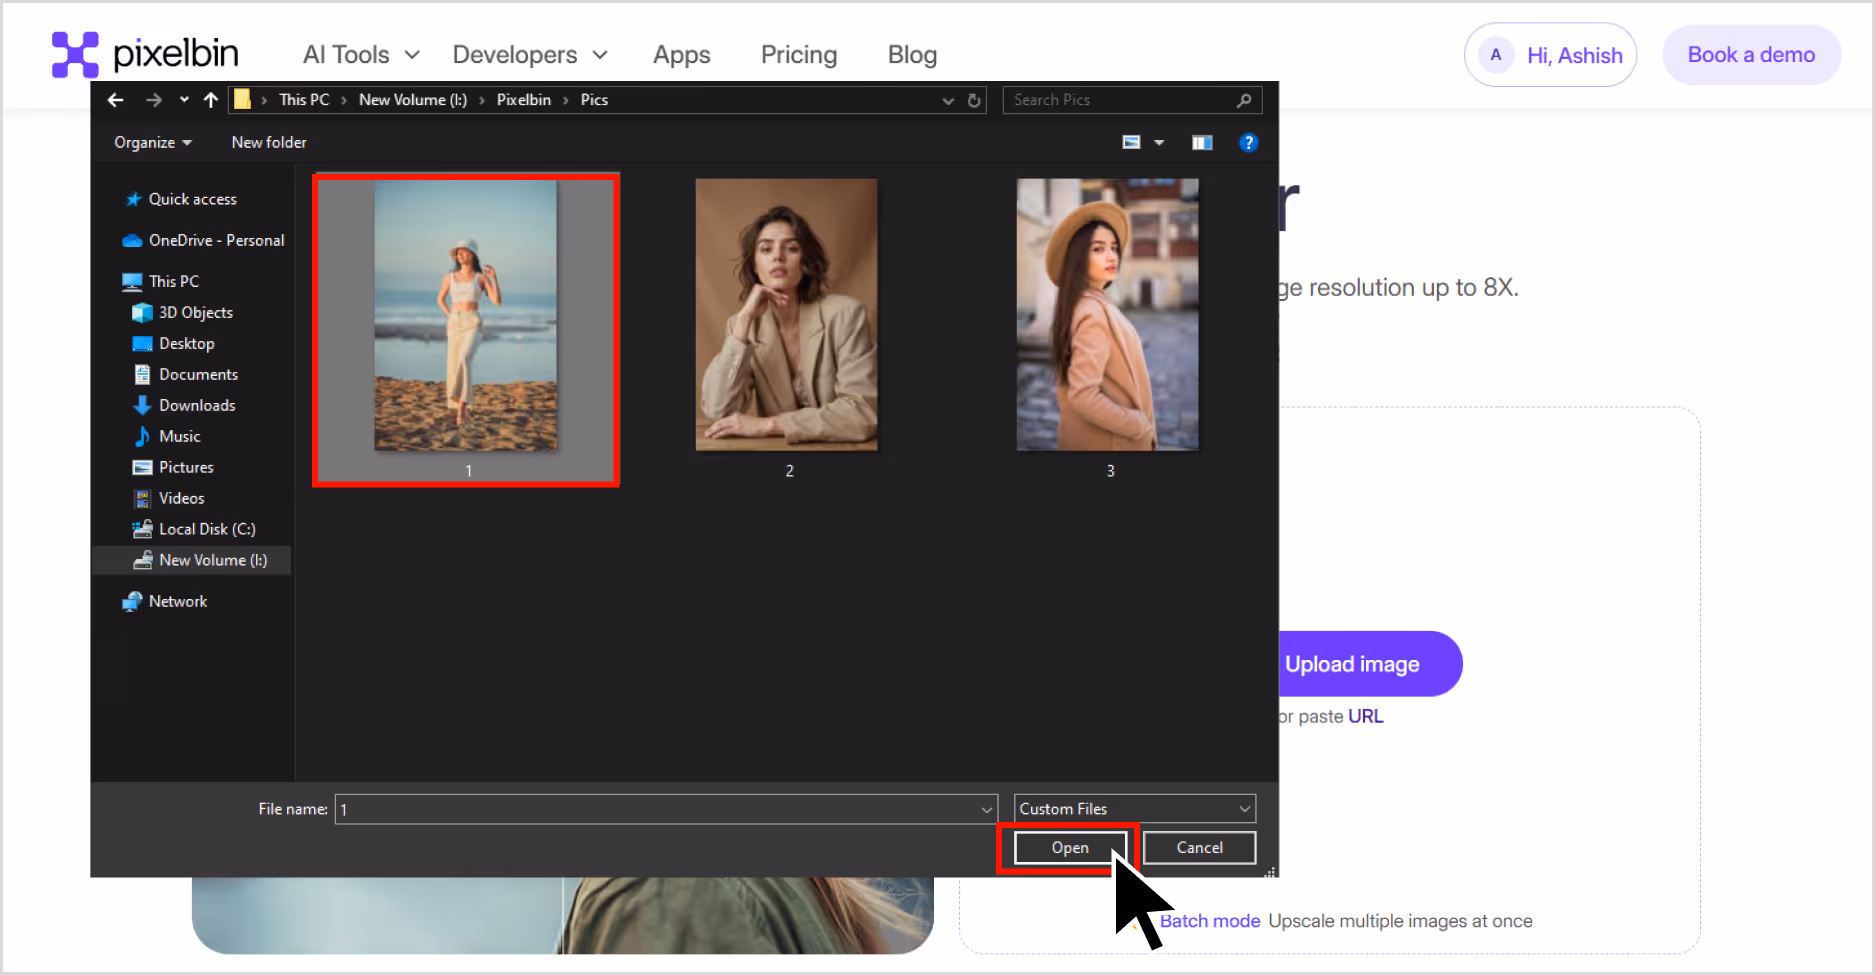
Step 2: Upload your image by selecting it from your device or simply pasting the image URL. As batch processing is a feature, you can add up to 10 images at a time.
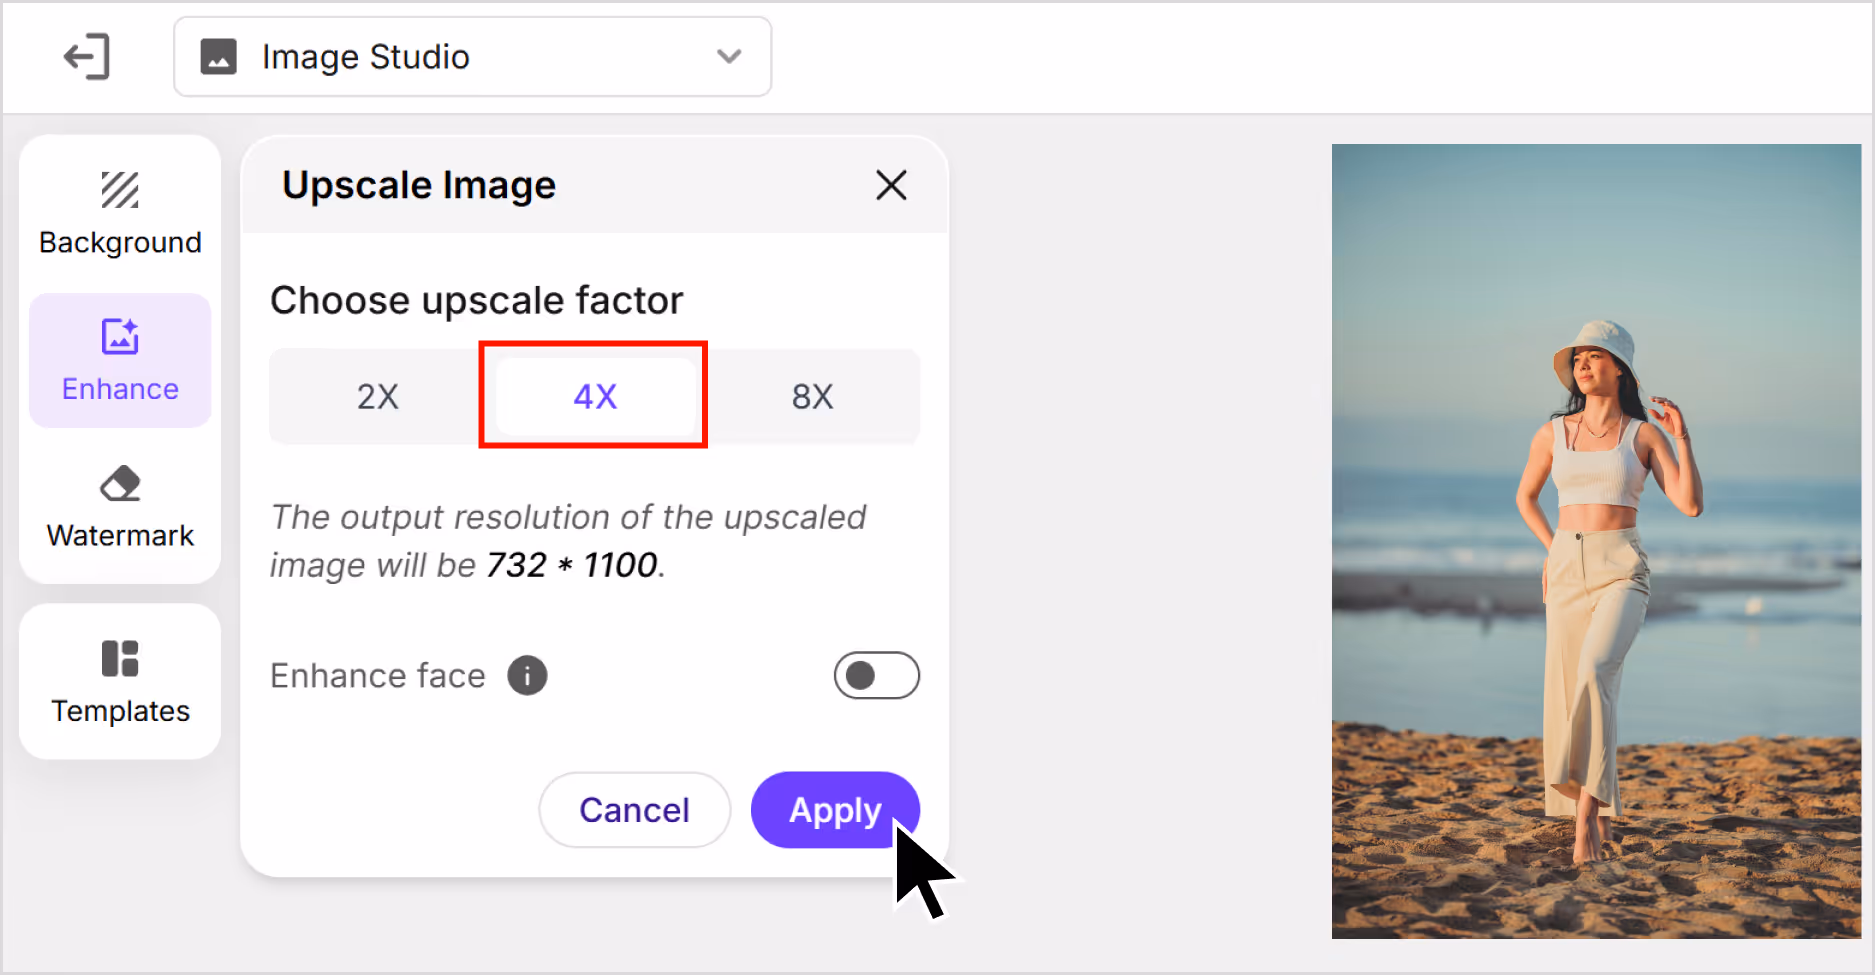
Step 3: Choose your image upscale size—2x, 4x, or 8x. To get a 4K image upscaling. Choose a 4X image scale size, my image size is upscaled to 1100x732 pixels. You can also resize, crop, adjust the image, and rotate.
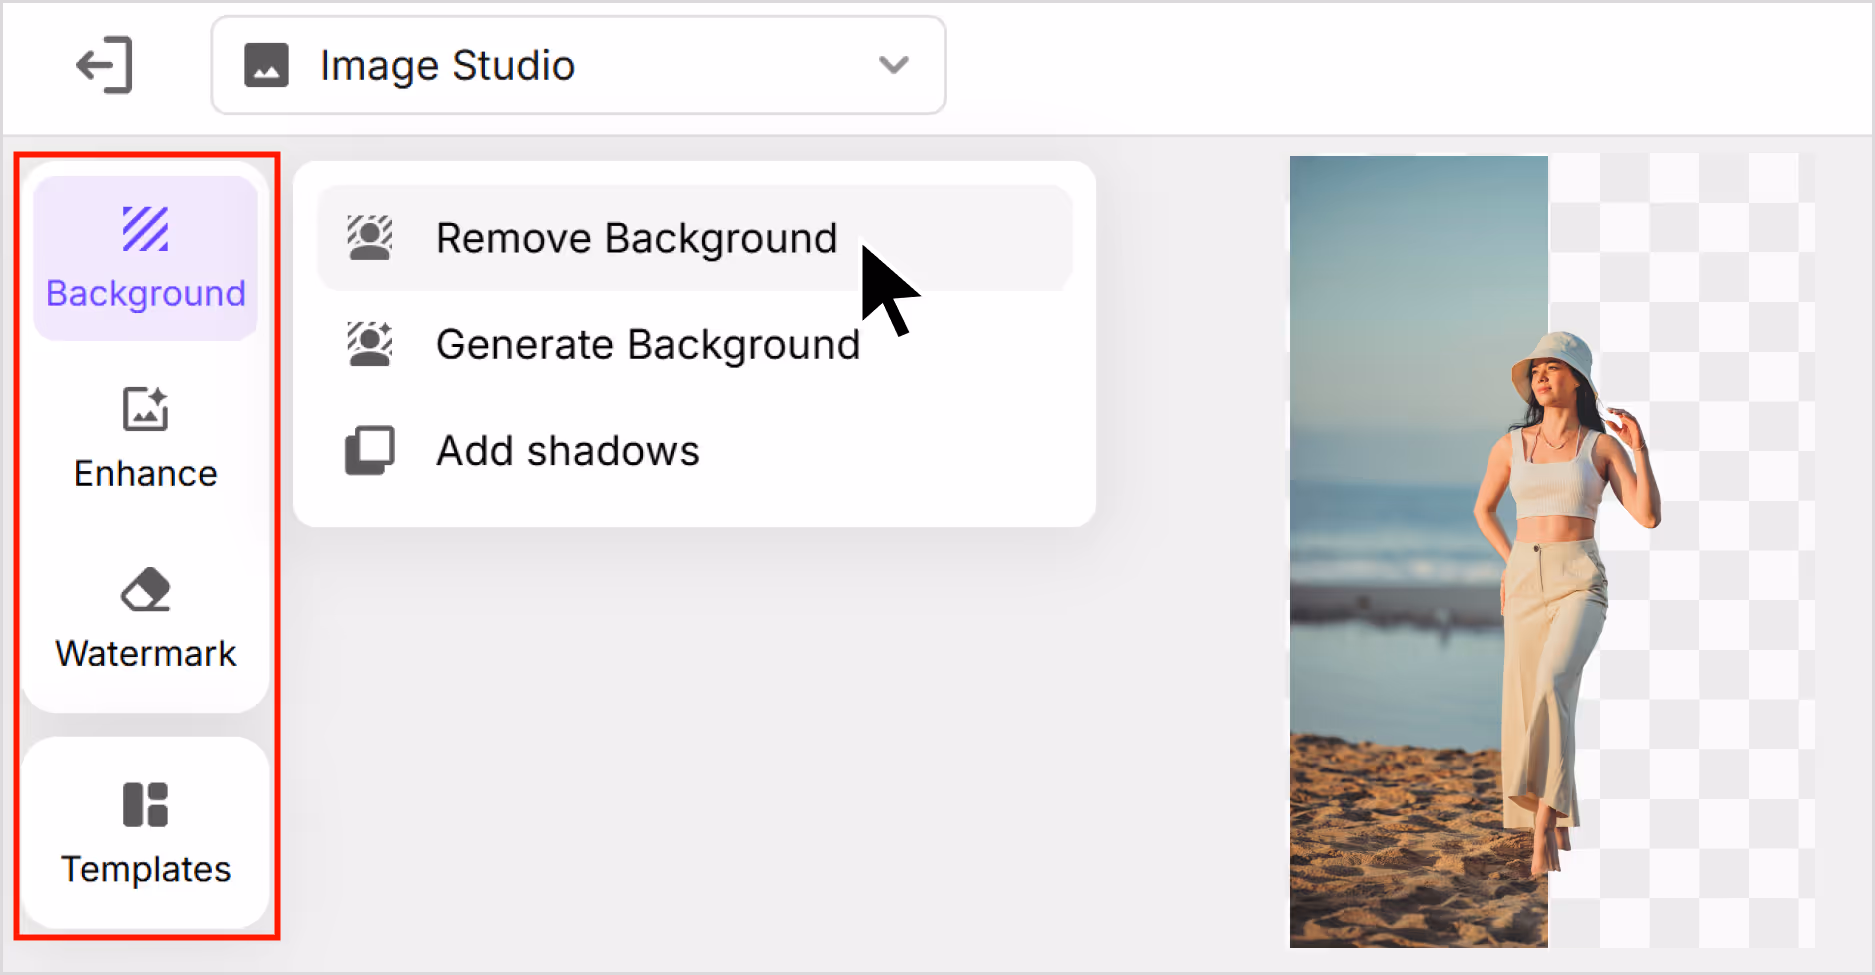
Step 4: You can also remove or change the background, add new templates, and remove the watermark.
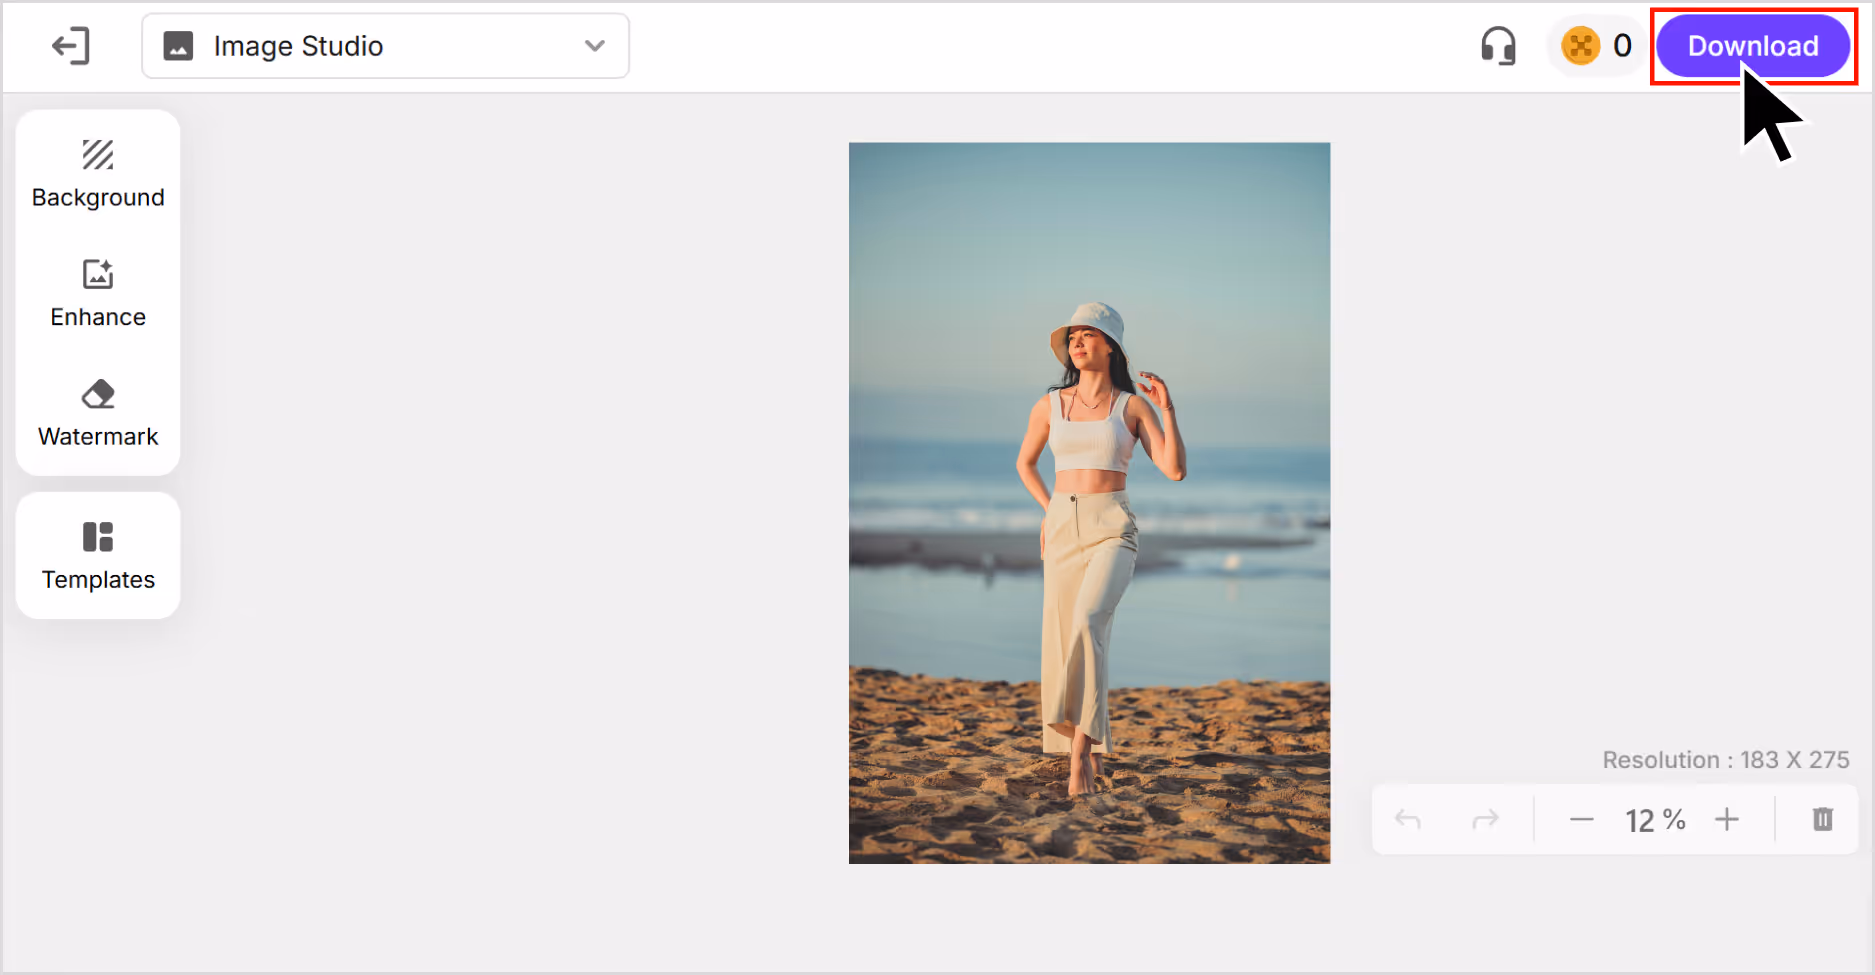
Step 5: Preview the image and select Download to save the image in SD or HD resolution.
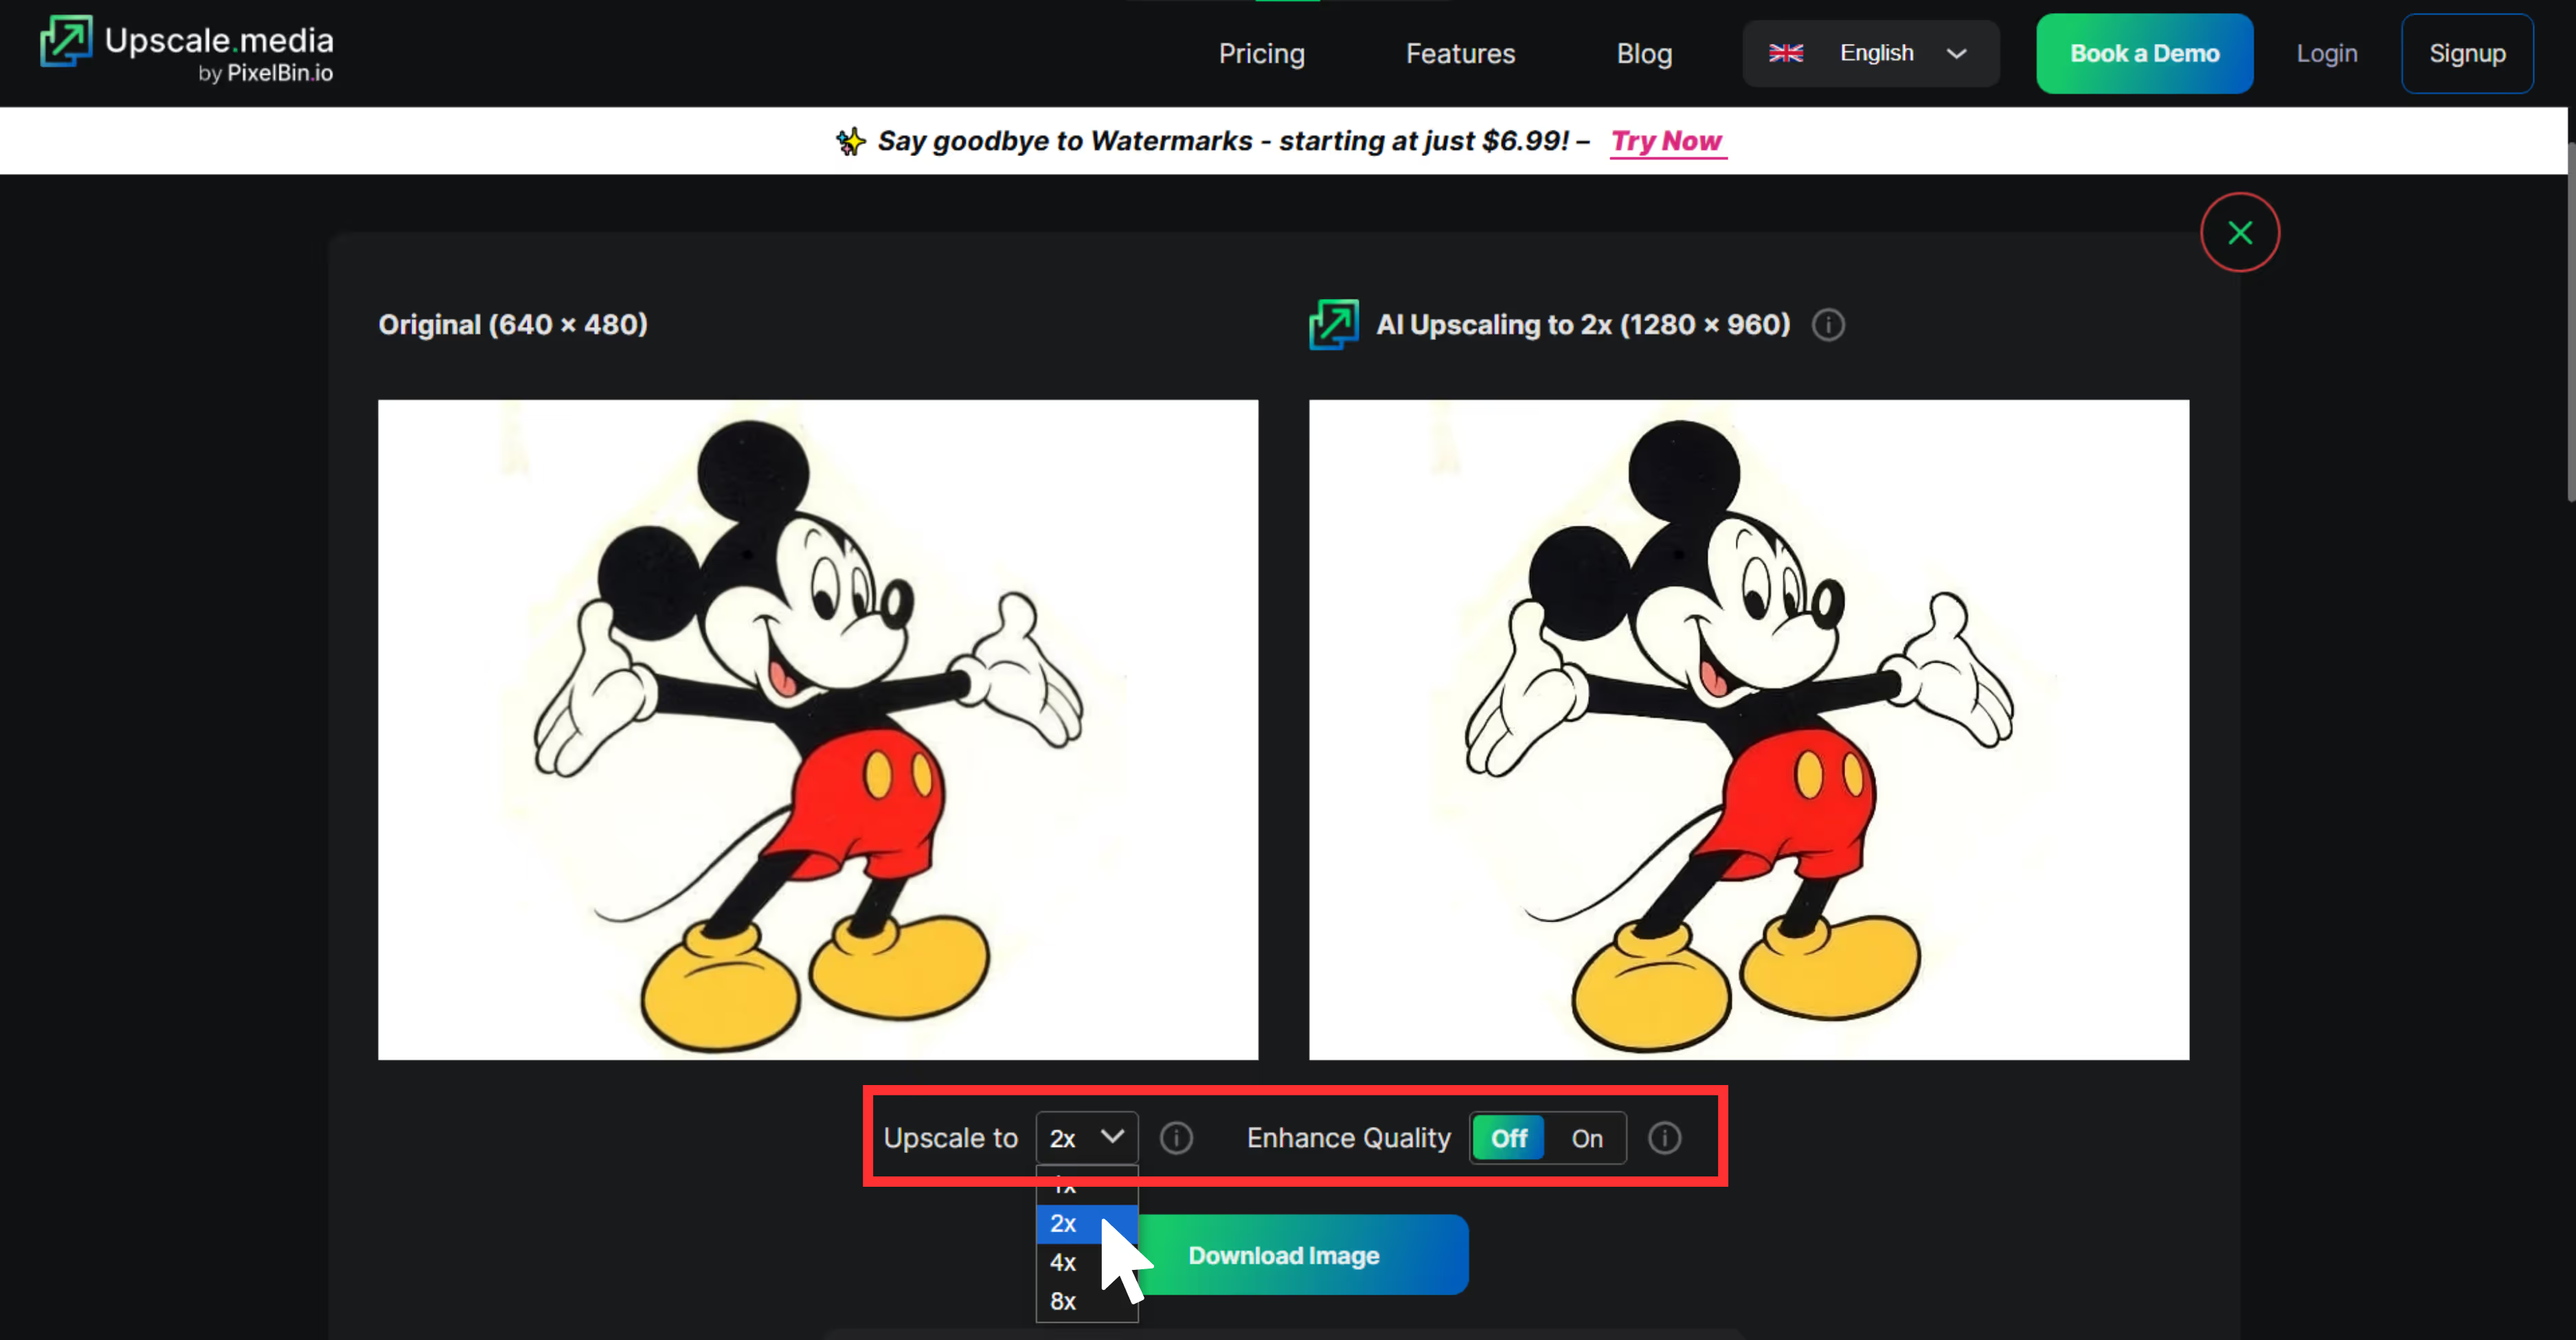
2. Upscale.media

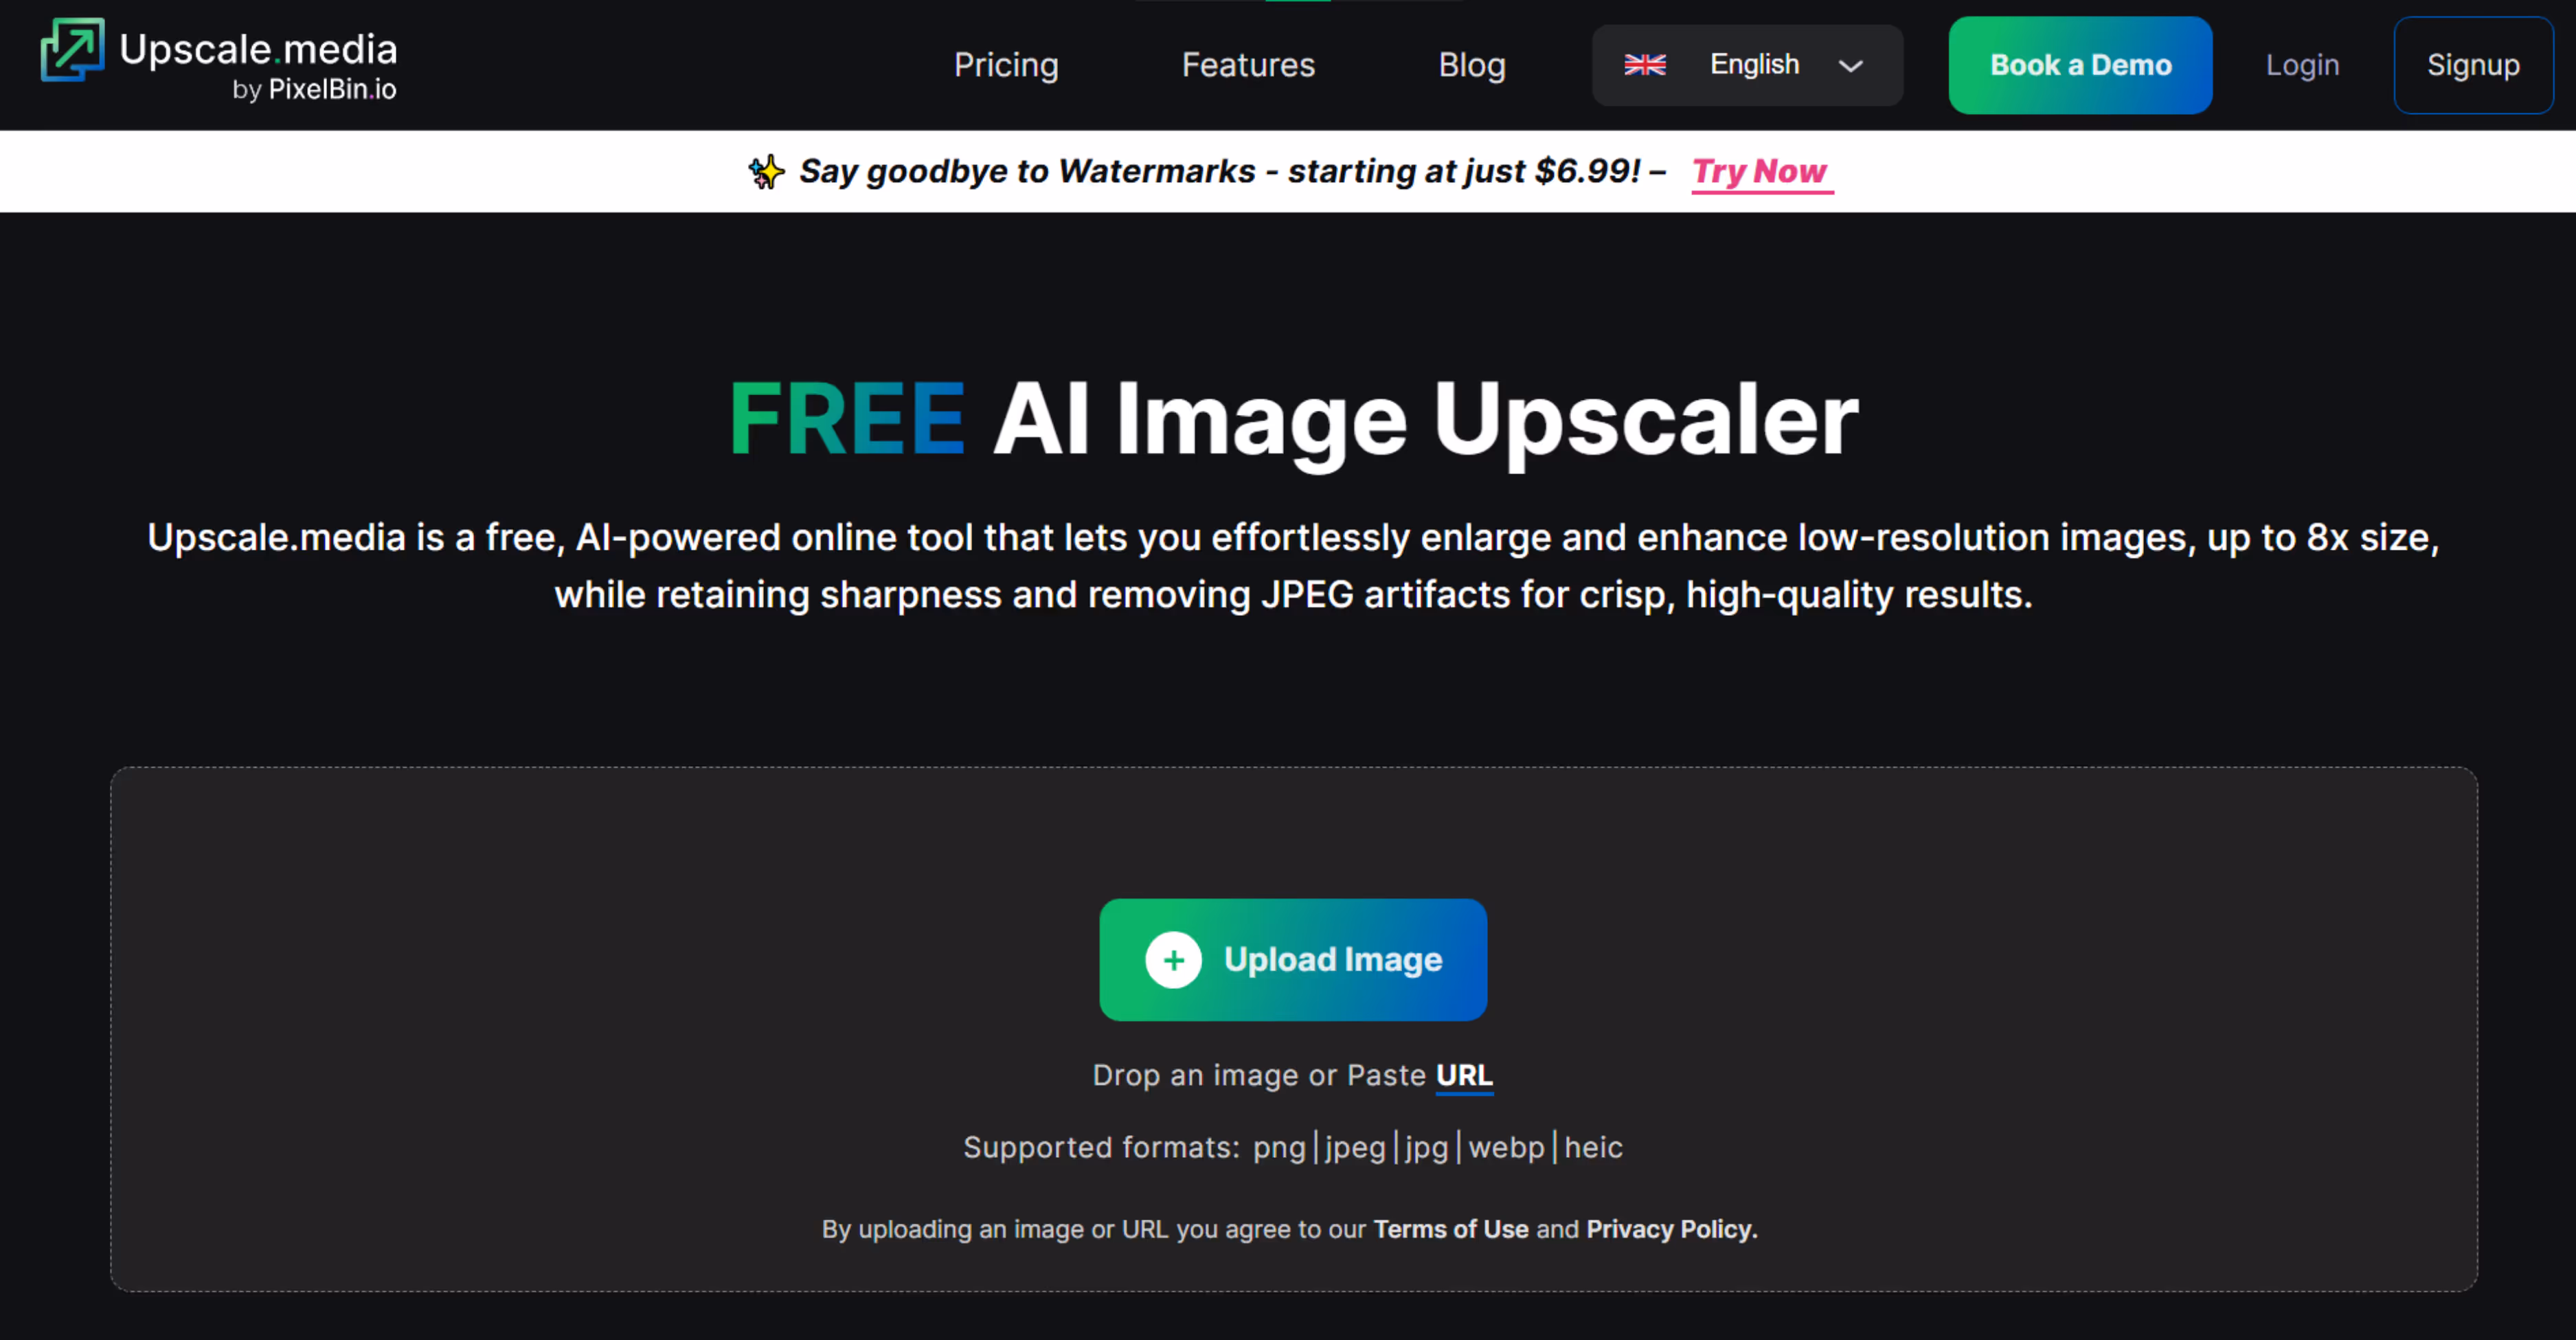
If you're looking for a simple and quick AI tool to upscale images without losing quality, Upscale.media is worth trying. I tested it using a low-resolution selfie of mine.
After running it through Upscale.media, I was awestruck. The clarity improved, and the noise reduction kicked in well. Edges looked cleaner, details sharper, and that washed-out blur was mostly gone. You can upscale images by 2x, 4x, or 8x for free. What I liked about the tool;
- You don’t need to sign up or install anything—just drag and drop the image.
It’s quick—my result came through in seconds. - AI noise reduction works automatically, which cleans up the grains.
The interface is clean and beginner-friendly.
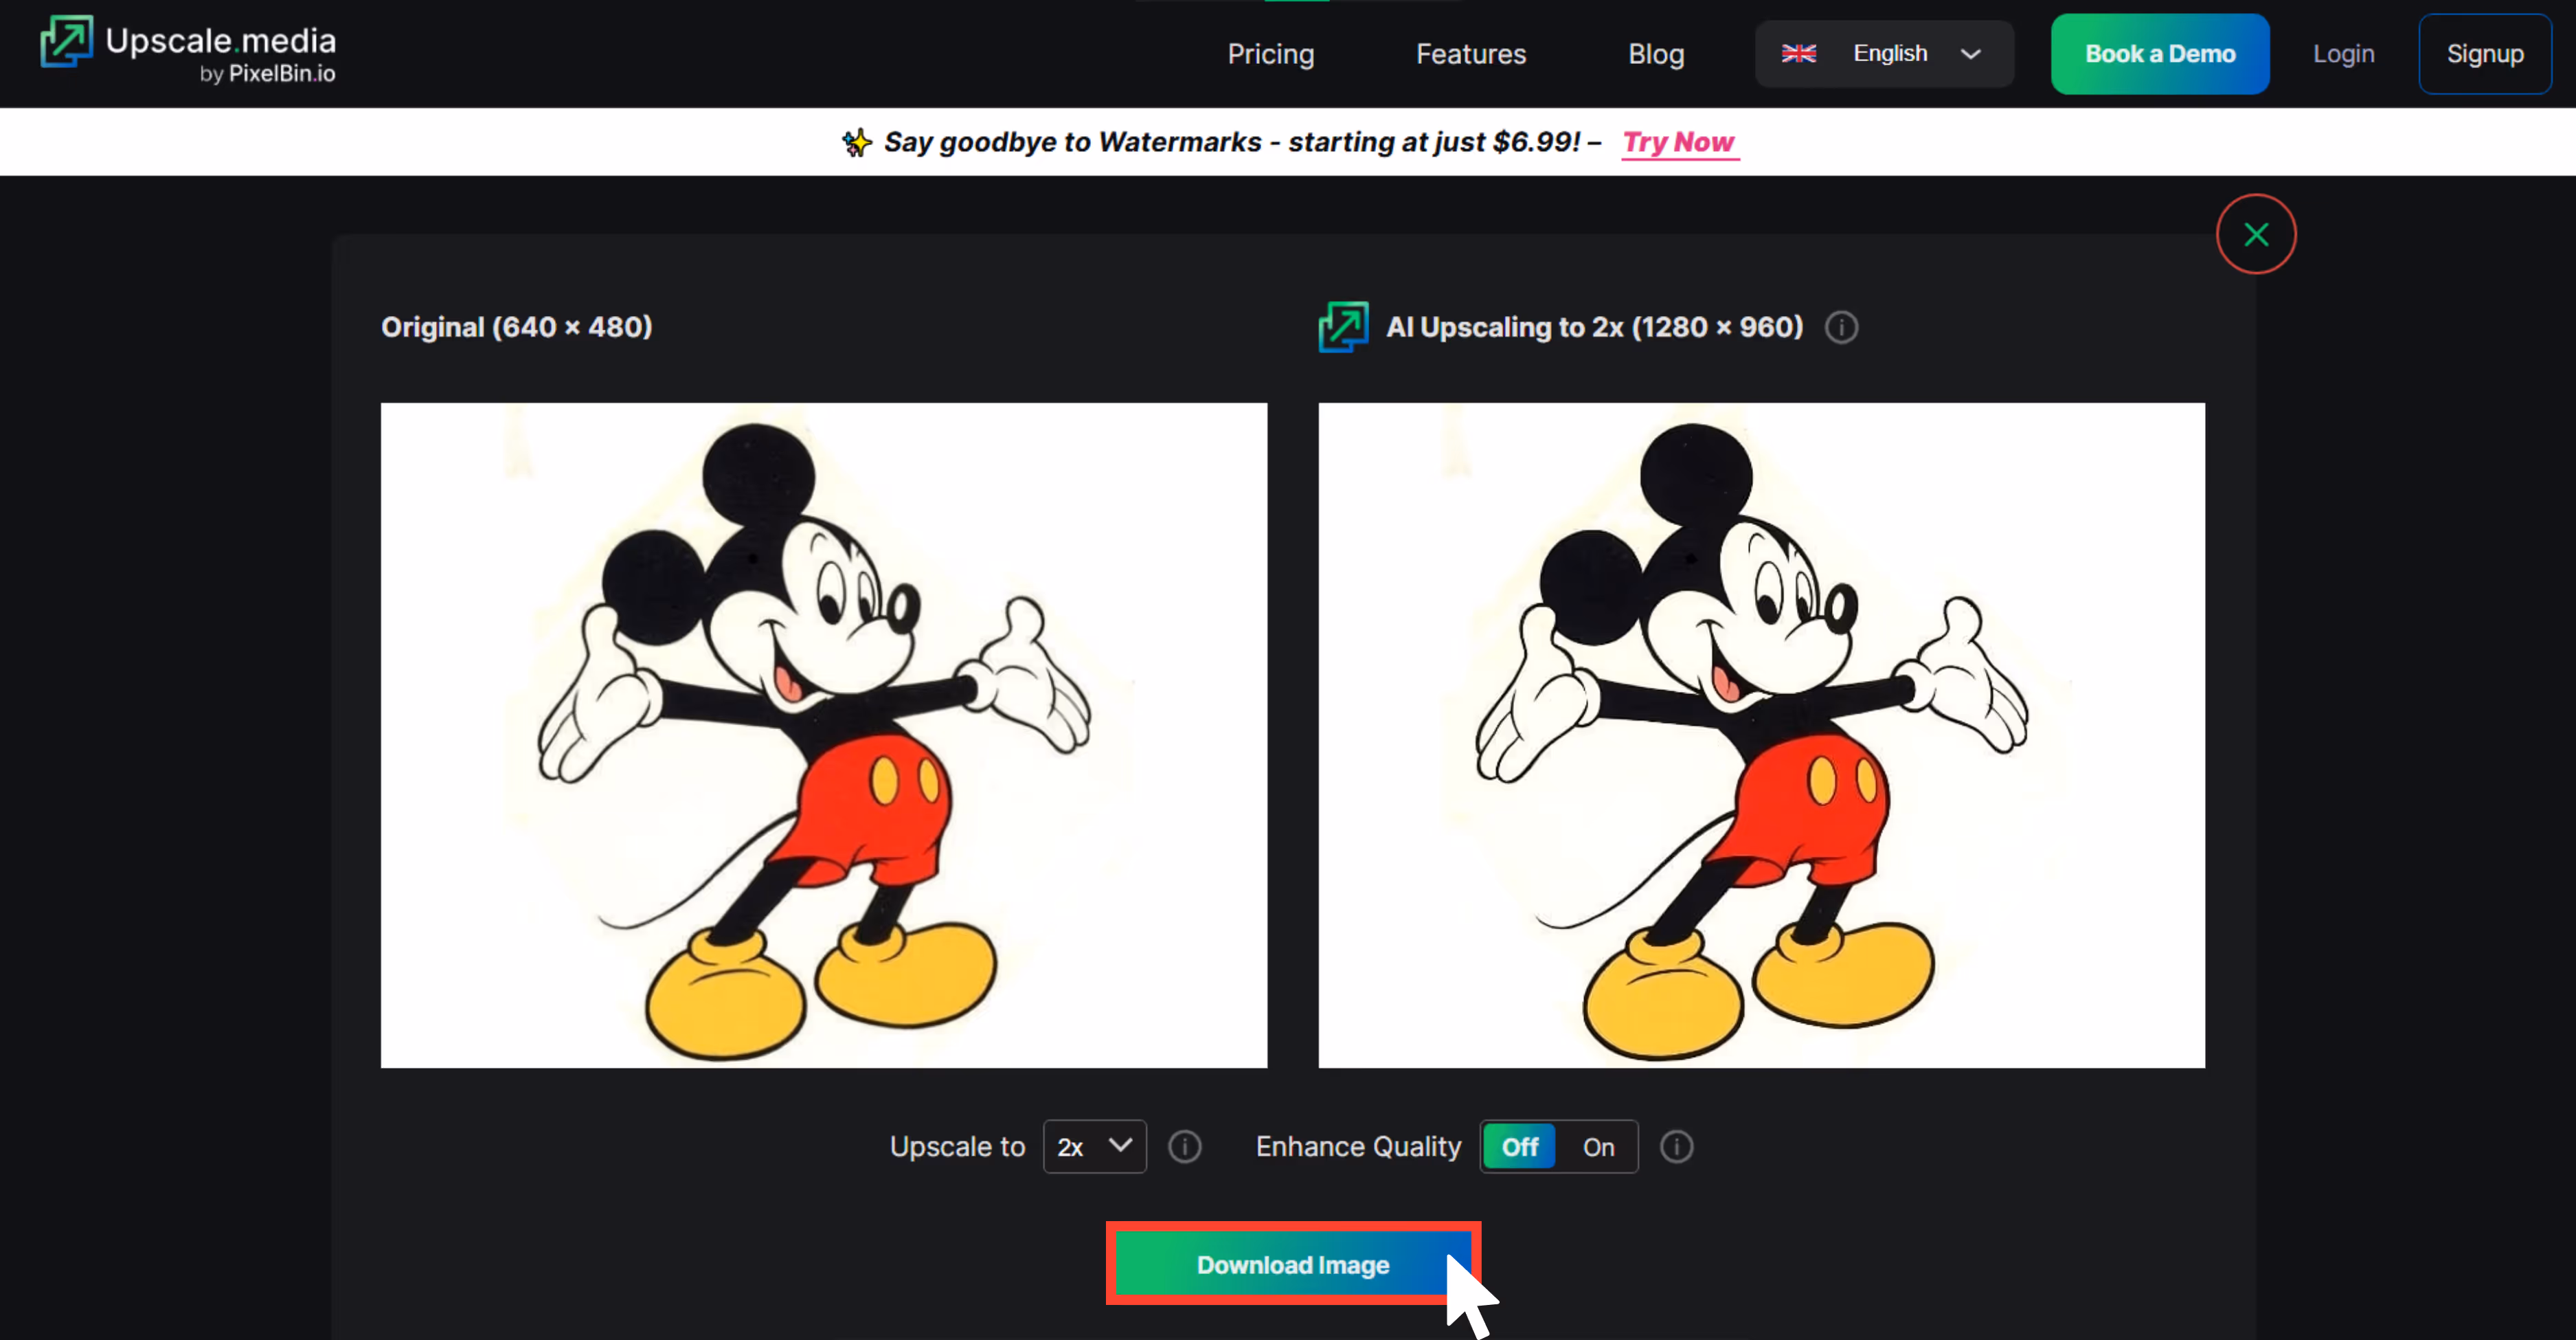
How to upscale an image in Upscale.media?
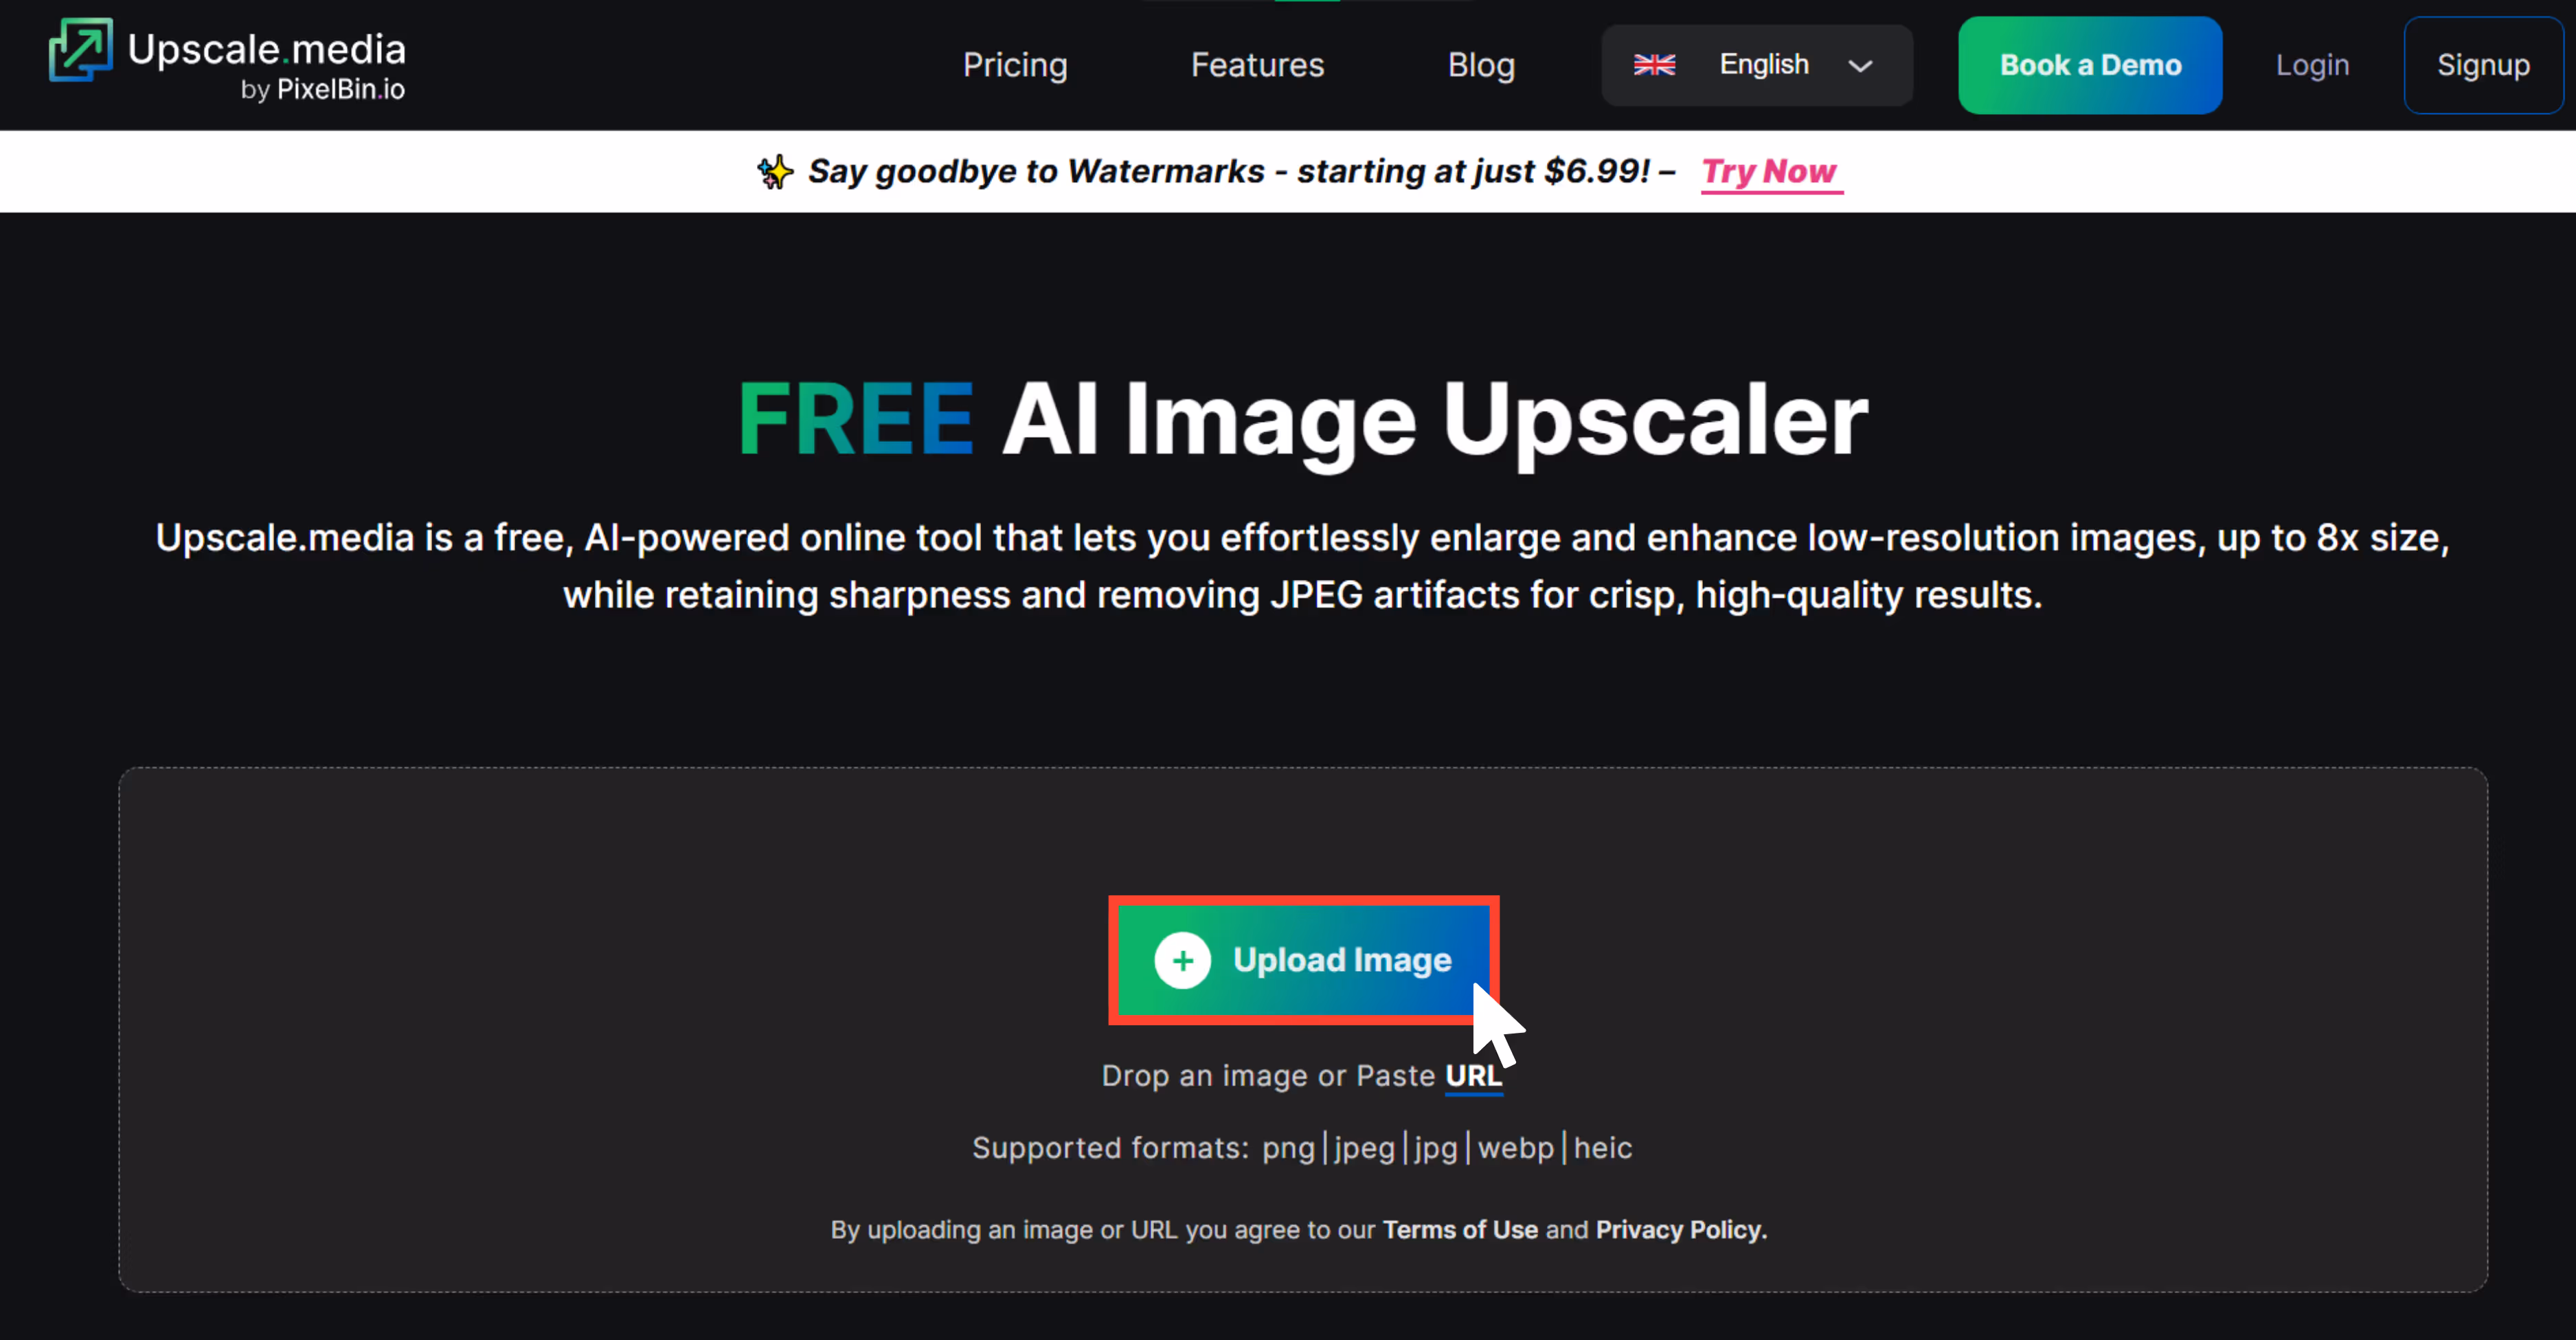
Step 1: Go to https://www.upscale.media.
Step 2: Click on “Upload image” and add images in JPG, PNG, or JPEG formats. You can also paste the image URL.
Step 3: Let the algorithms automatically process the image upscaling. You can then adjust the scale from 1x, 2x, 4x, and 8x for scaling.
Step 4: Download the image by clicking on the “Download” chip, and you are done.
3. IMG2Go

While exploring other tools, I came across IMG2Go. I tested this AI image upscaler with a low-resolution landscape image. Over here, 2x and 4x scaling are for free. After using the tool’s 4x option, the result looked much cleaner. The image became crisper, textures stood out more, and the difference was really visible. What I liked about the tool;
- Very simple, user-friendly interface
- No sign-up needed to try the basic features
- Gives clear output previews before download
- Supports common file types like JPG and PNG
How to upscale an image in IMG2Go?
Step 1: Go to https://www.img2go.com/upscale-image.
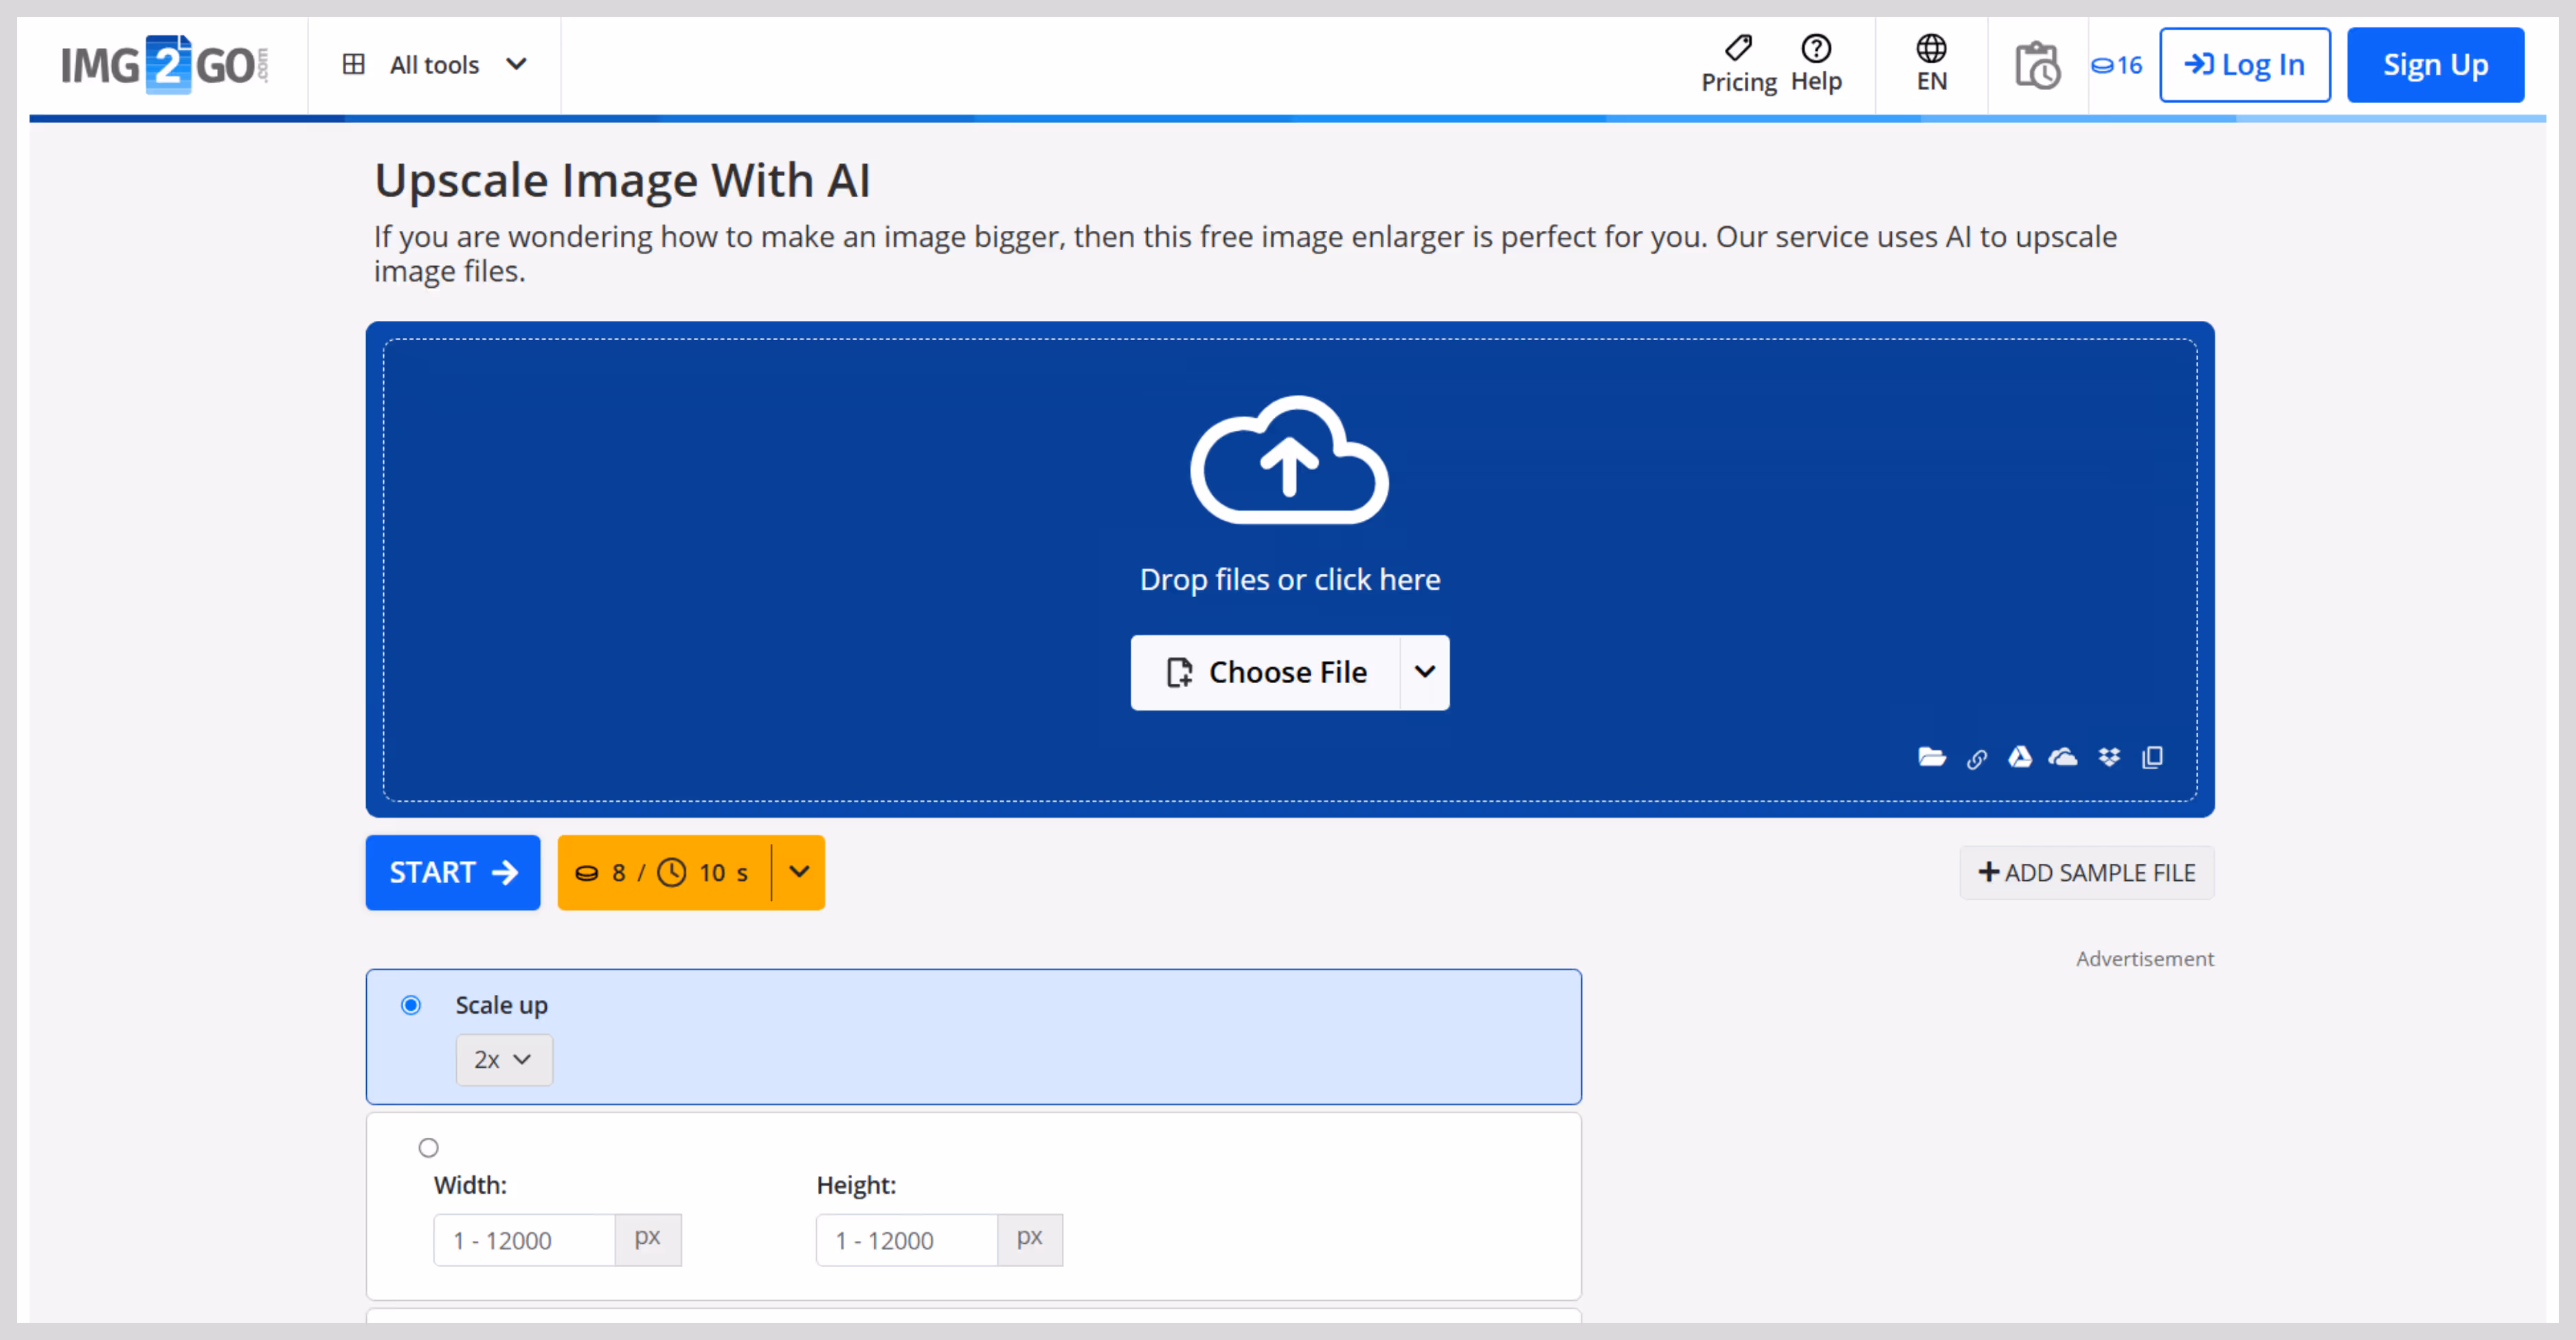
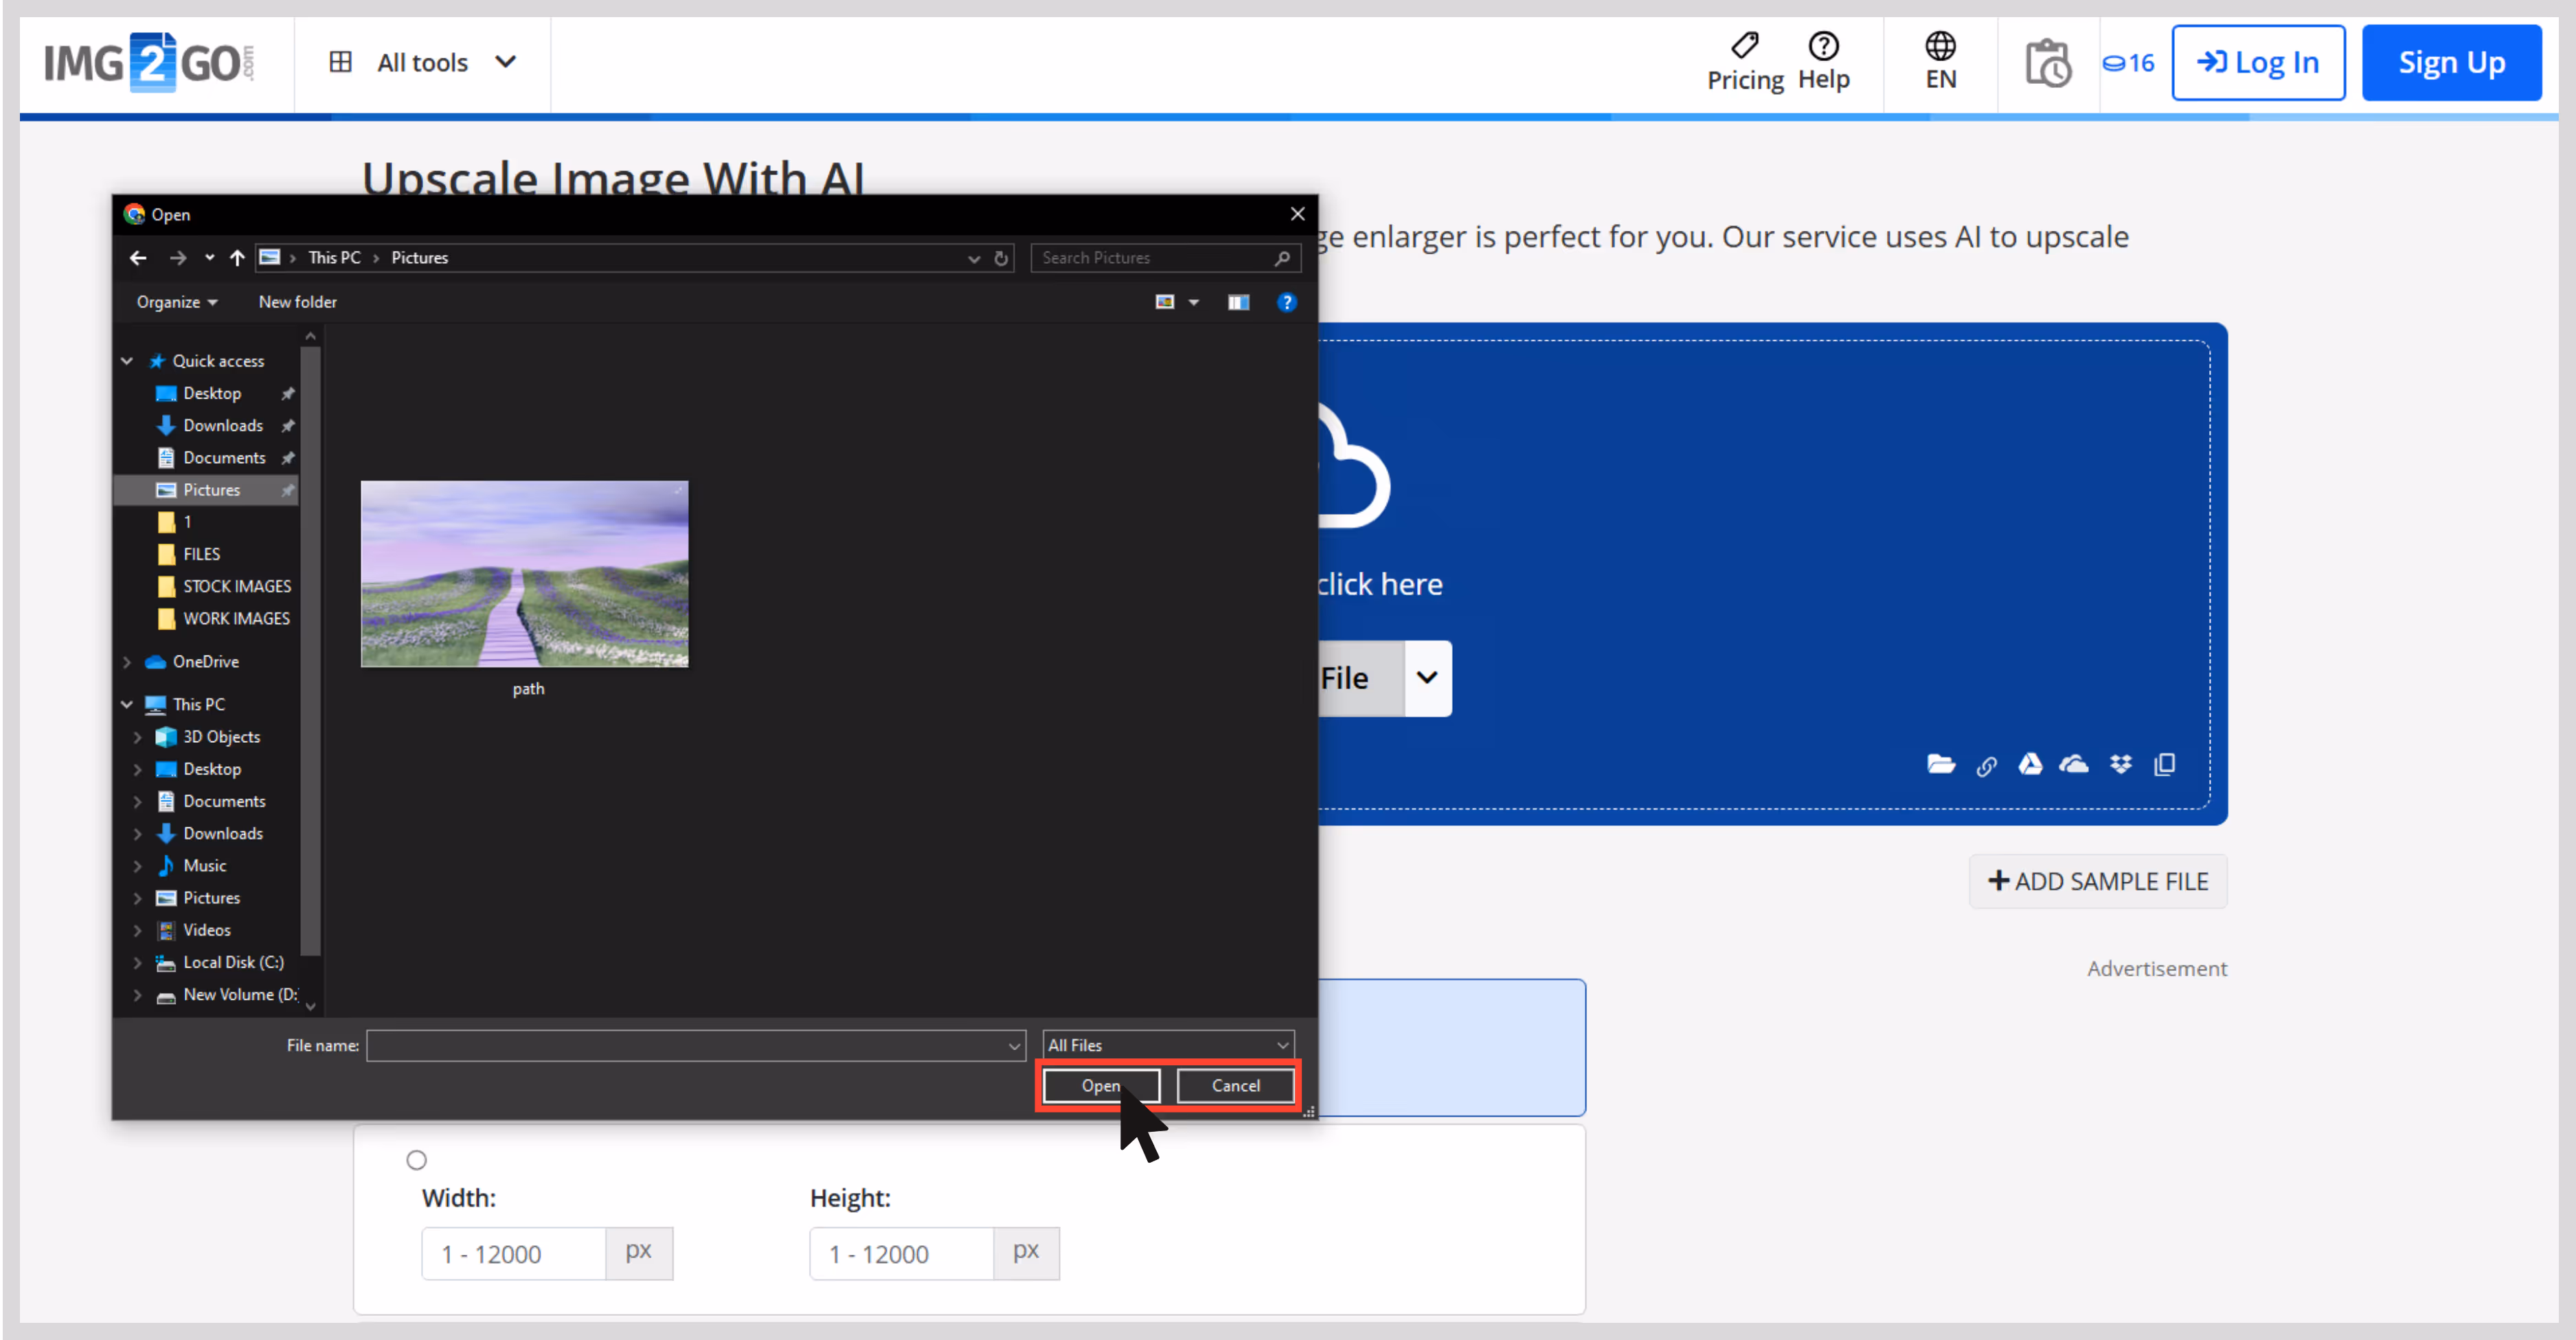
Step 2: Click “Choose File” to upload your image.
Step 3: For image settings, select your desired upscale factor (2x or 4x).
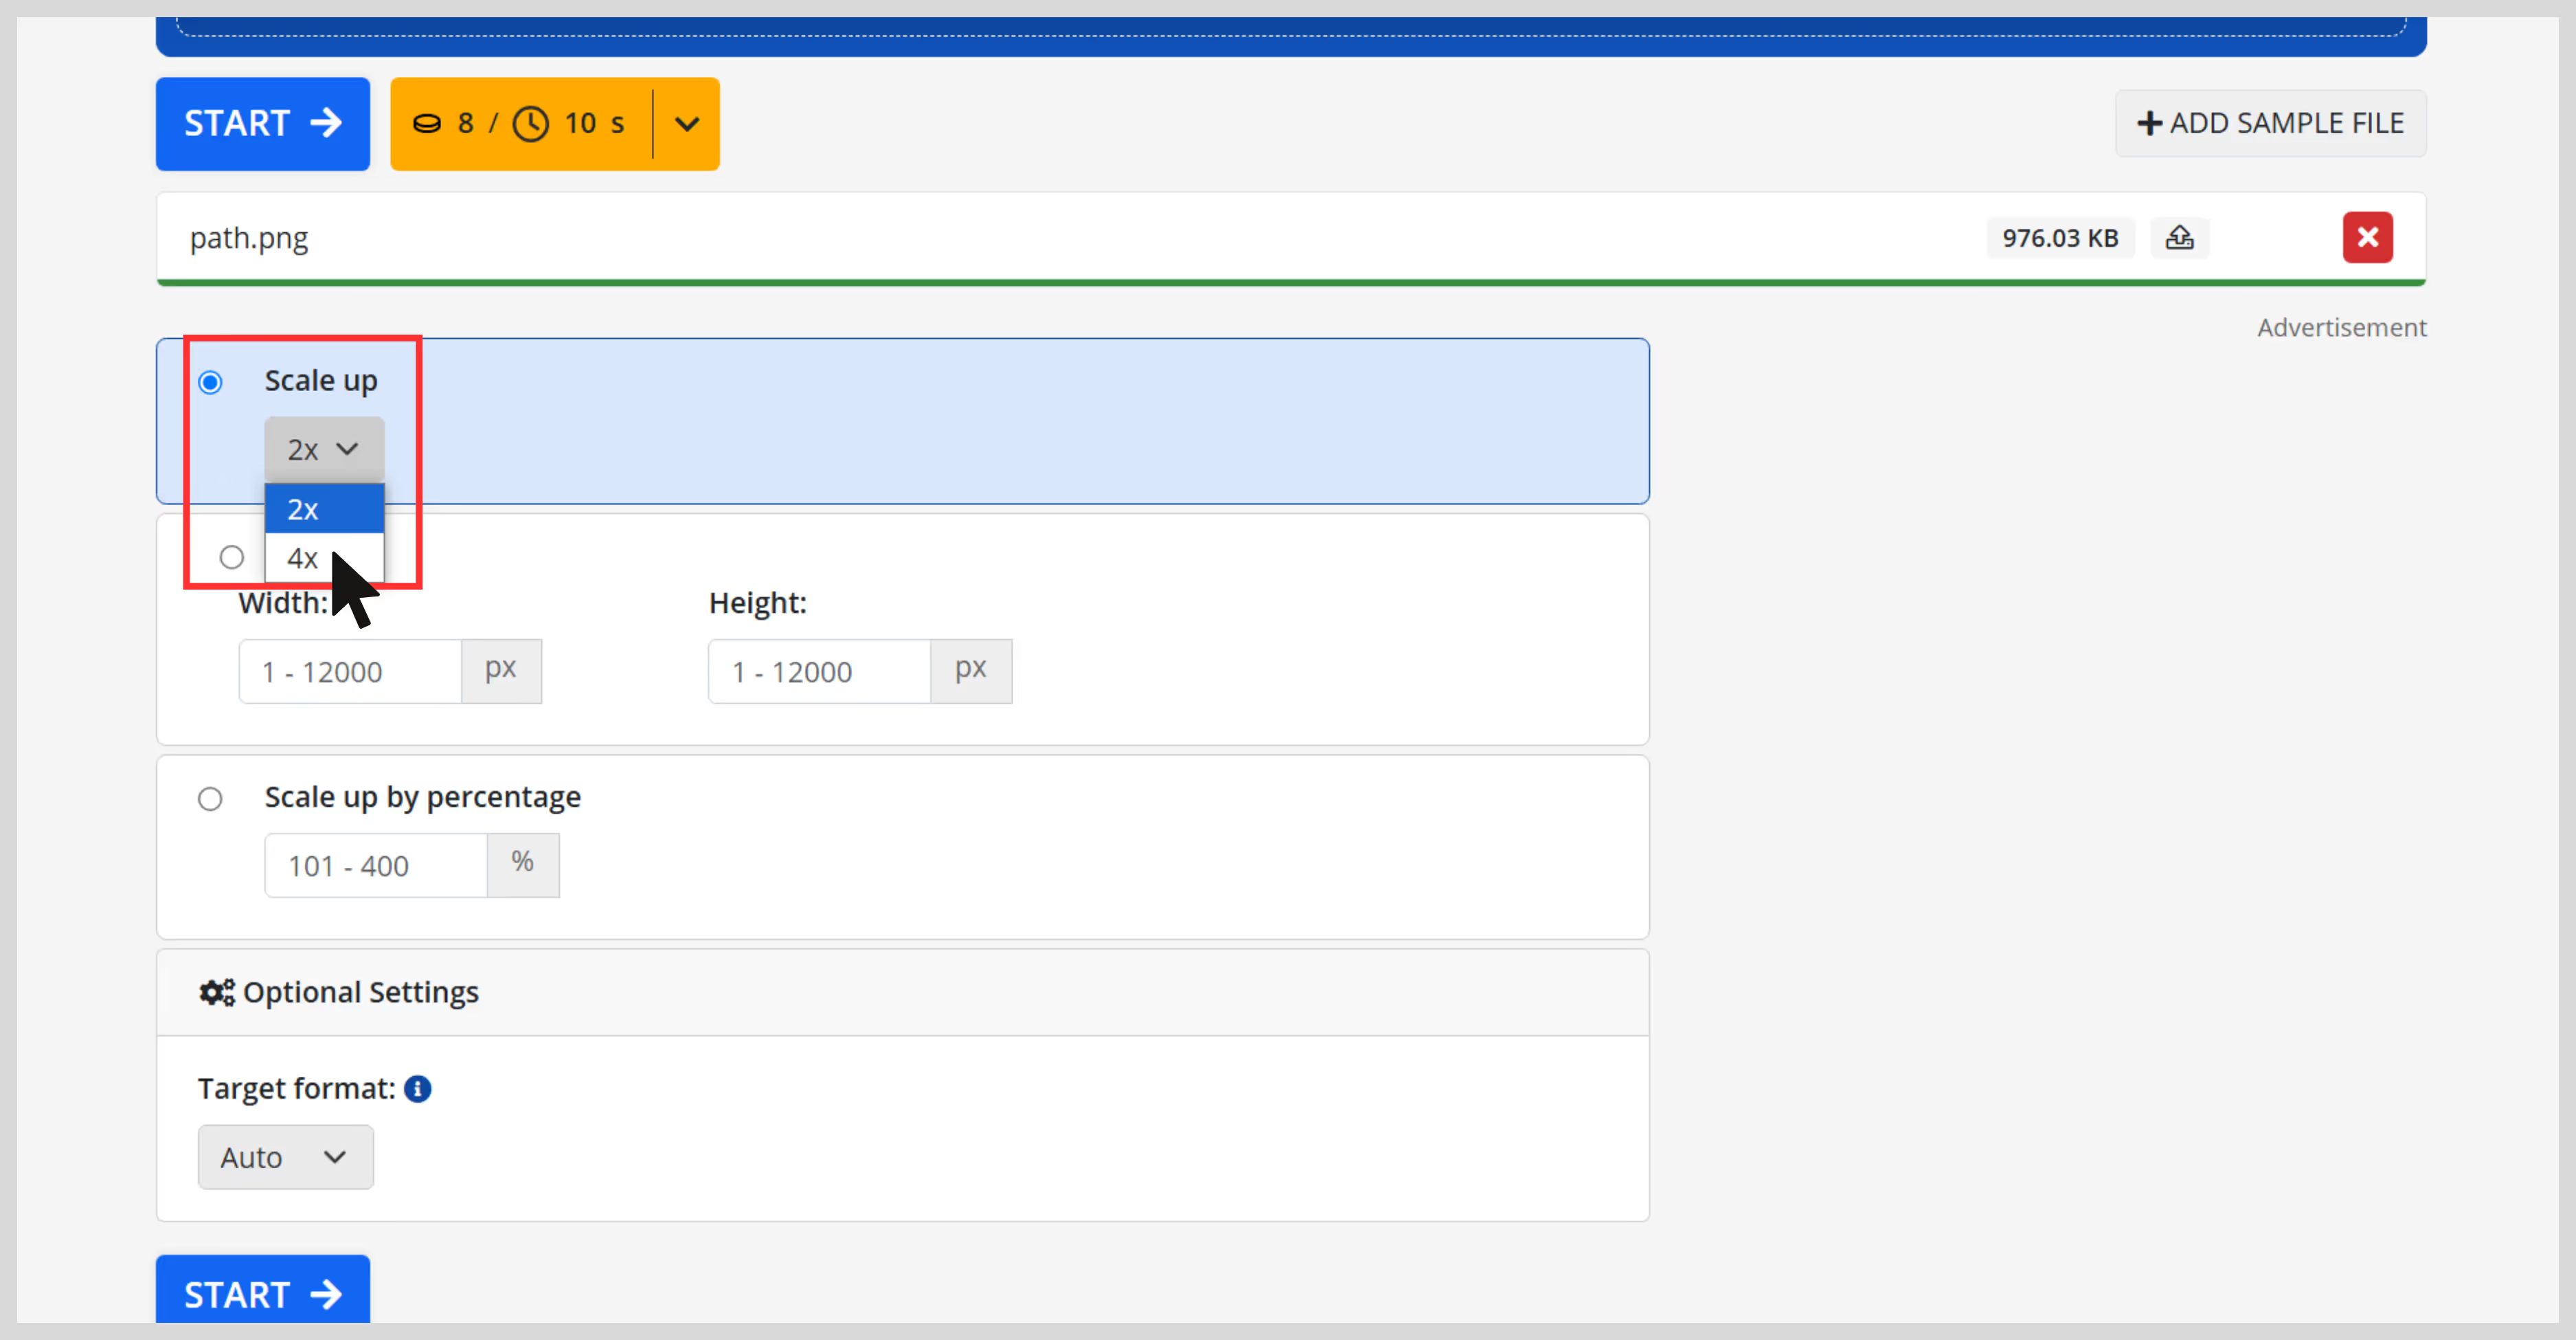
Step 4: Click on “Start” to begin with image upscaling.
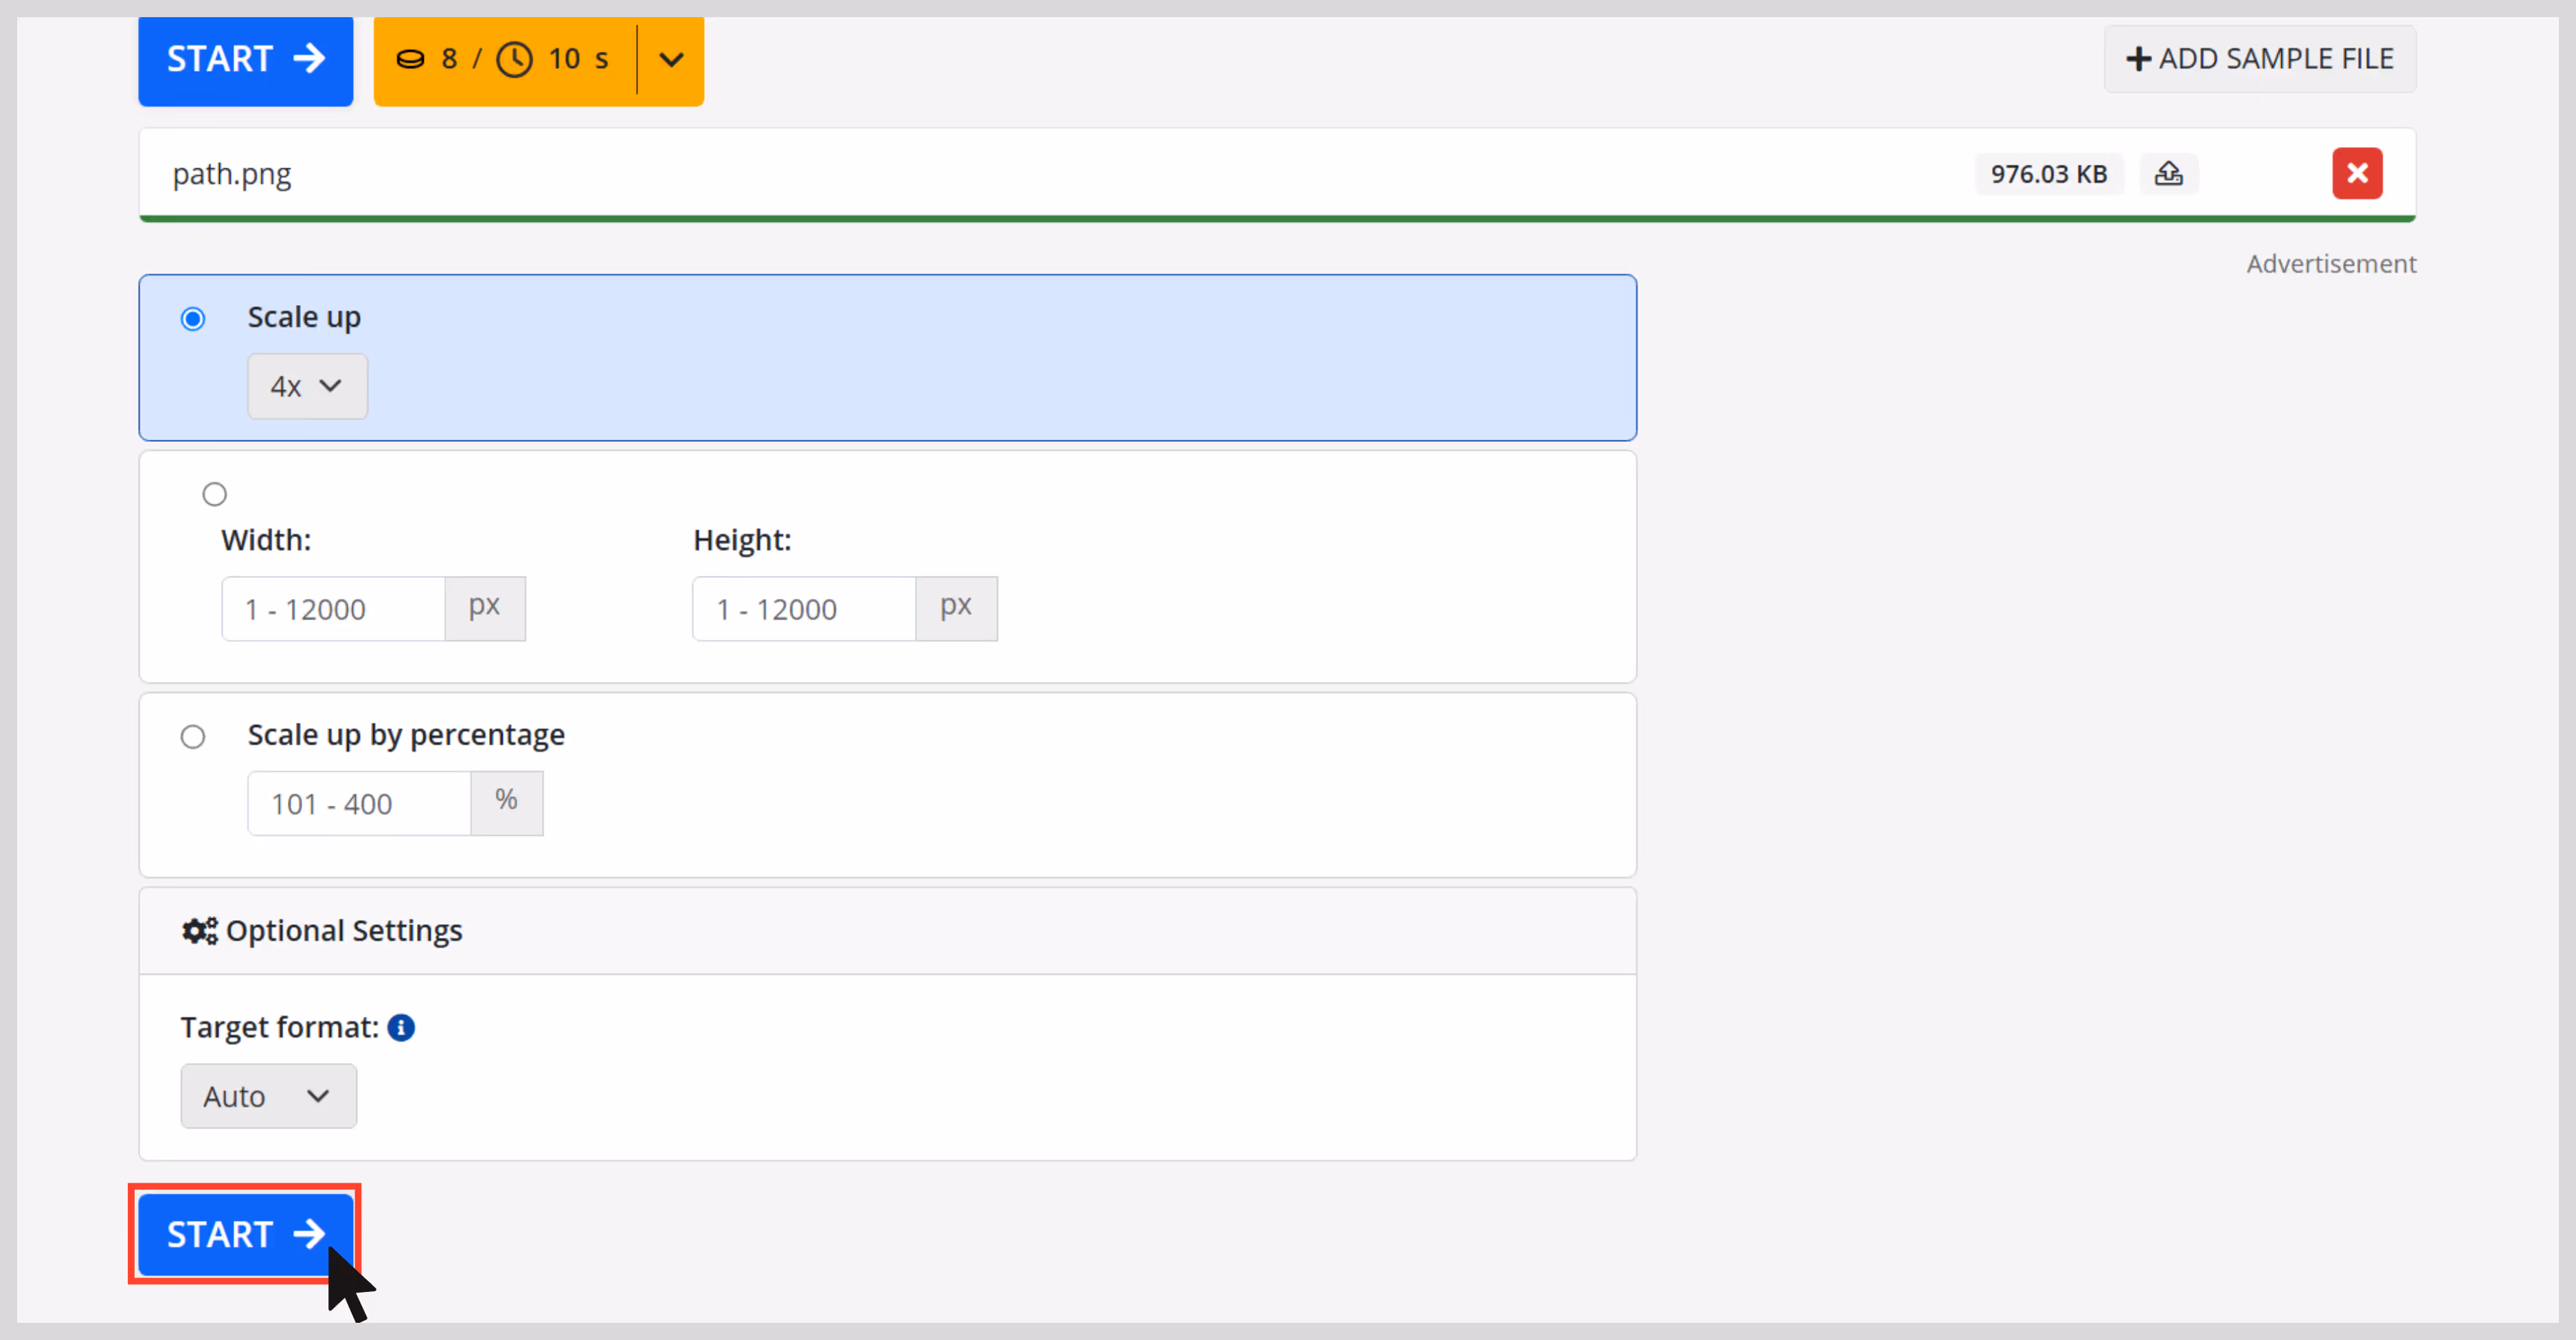
Step 5: Once done, you’ll see a preview.

4. Pixelcut

If you're working with product photos, e-commerce visuals, or even quick social content, Pixelcut’s Image Upscaler is one of the smoothest tools I’ve tried. I uploaded a small product image and used the 4x upscale option. The result blew my mind, definitely sharp enough to look clean on an HD screen.
Unlike some tools that try to over-fix missing details of the image, Pixelcut keeps it natural and professional. The object edges looked sharp, the background stayed noise-free, and there was no weird oversaturation. It feels like a tool made for beginners where you can just upload, enhance, and download. What I like the most about the tool;
- No sign-up needed to try it.
- Works great for product photography, posters, and clean visual assets.
- One-click, easy-to-understand interface.
- Mobile-friendly and fast.
- The output image doesn’t feel overly processed.
How to upscale an image in Pixelcut?
Step 1: Go to Pixelcut Image Upscaler.
Step 2: Click “Upload Image” or drag-and-drop your file.
Step 3: Wait a few seconds — it auto-upscales at 4x.
Step 4: Preview the result, then download the upscaled image.
5. Picsart
Recently, I came across a low-resolution portrait image. I wanted to post it on Instagram, but it was so pixelated that I couldn't. Then I came across Picsart, and this tool helped me a lot. The tool’s landing page is easy to understand and navigate, even for first-time users.
The process was clearly guided—just upload the image, and the AI handles the enhancement. I tried the tool with that image, and after upscaling, the image appeared more noticeable with no blurry areas. What i liked about the tool;
- AI-powered tool with image texture adjustments
- Supports JPG and PNG image formats
- Free tier available
- A web-based and mobile app is available
- Free upscaling is available up to 2x; higher resolutions (like 4x) may require a premium plan.
- Easy and simple interface
How to upscale an image in Picsart?
Step 1: Go to the Picsart Image Upscaler page: https://picsart.com/image-upscale.

Step 2: Upload your image by clicking on the “Browse files” button.
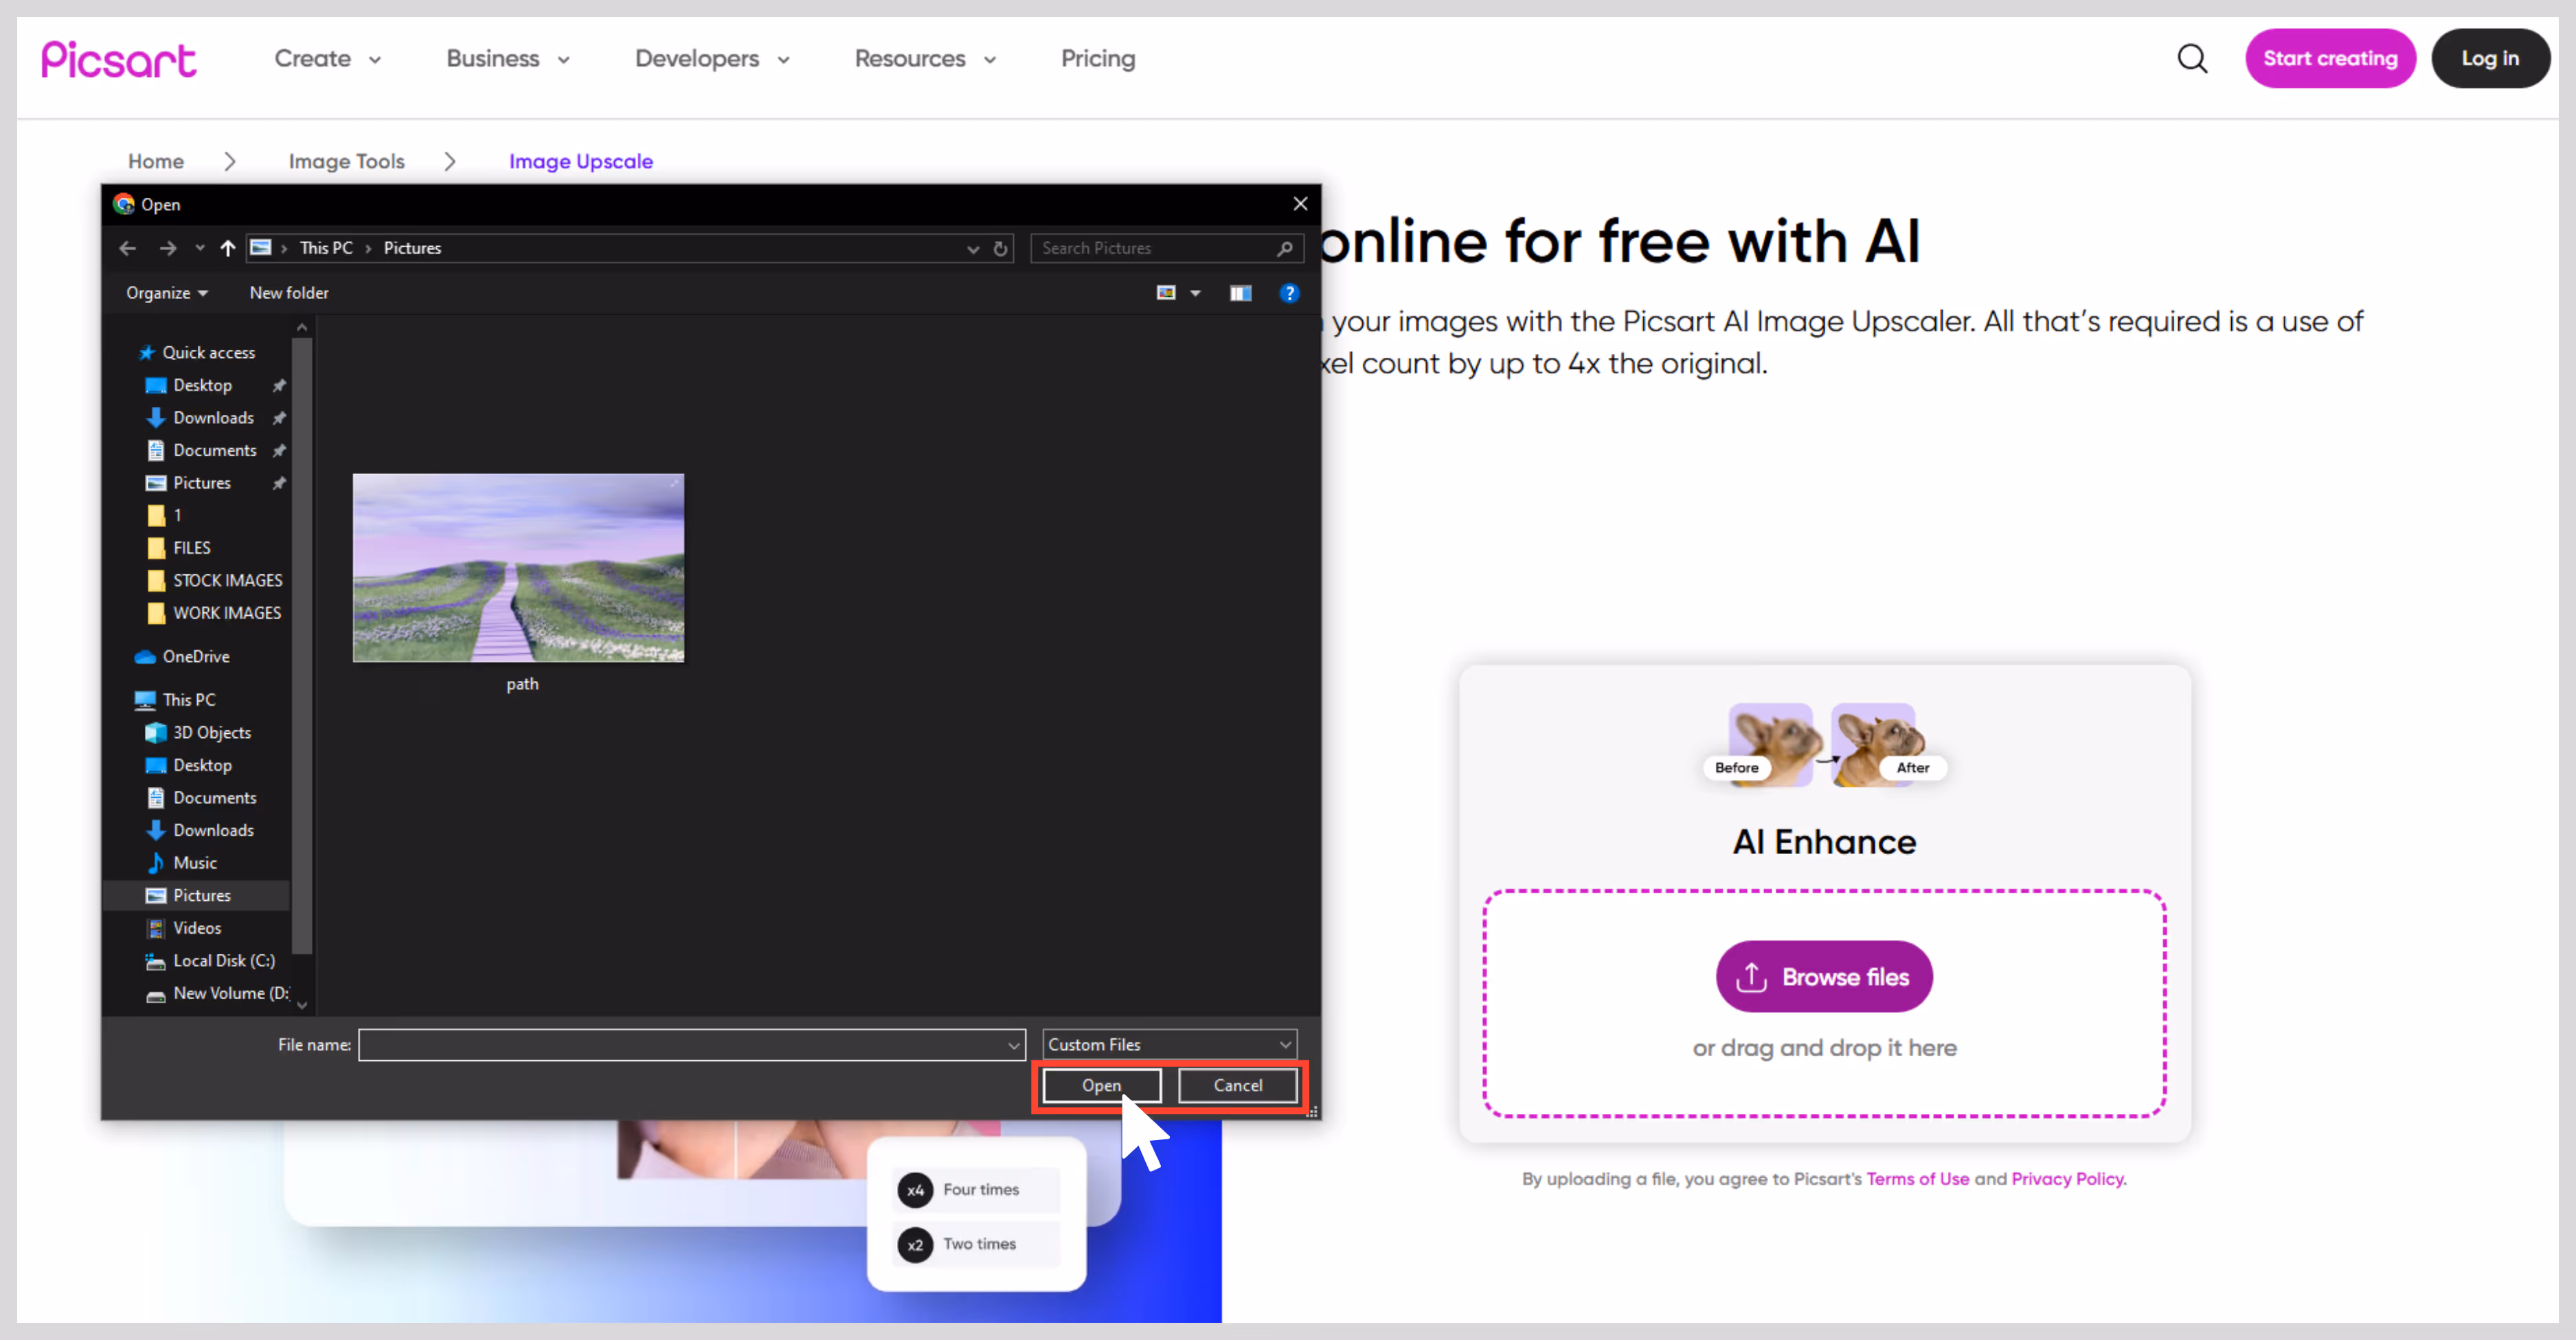
Step 3: After uploading, the AI automatically begins enhancing the image—removing blur, sharpening edges, and increasing pixel count. You can further edit the image by clicking the 'Edit' option.
Step 4: Once done, just download it.
6. DeepImage

This tool is one of the best for batch image processing and is a strong AI-powered solution for upscaling images. You can upload multiple images at once, and the AI automatically processes them—though upload limits may vary by plan.
Also, it has excellent features like facial enhancement, noise reduction, and more. I tried the tool with a few food pictures captured by me during a food walk, and the tool upscaled them quickly with improved textures.
- AI image upscaling that has a scale size of 2x and 4x.
- Face enhancements are available for portraits.
- Supports different image formats like JPG, JPEG, and PNG.
- API access is available for automation
- Credit based pricing model
How to upscale an image in DeepImage?
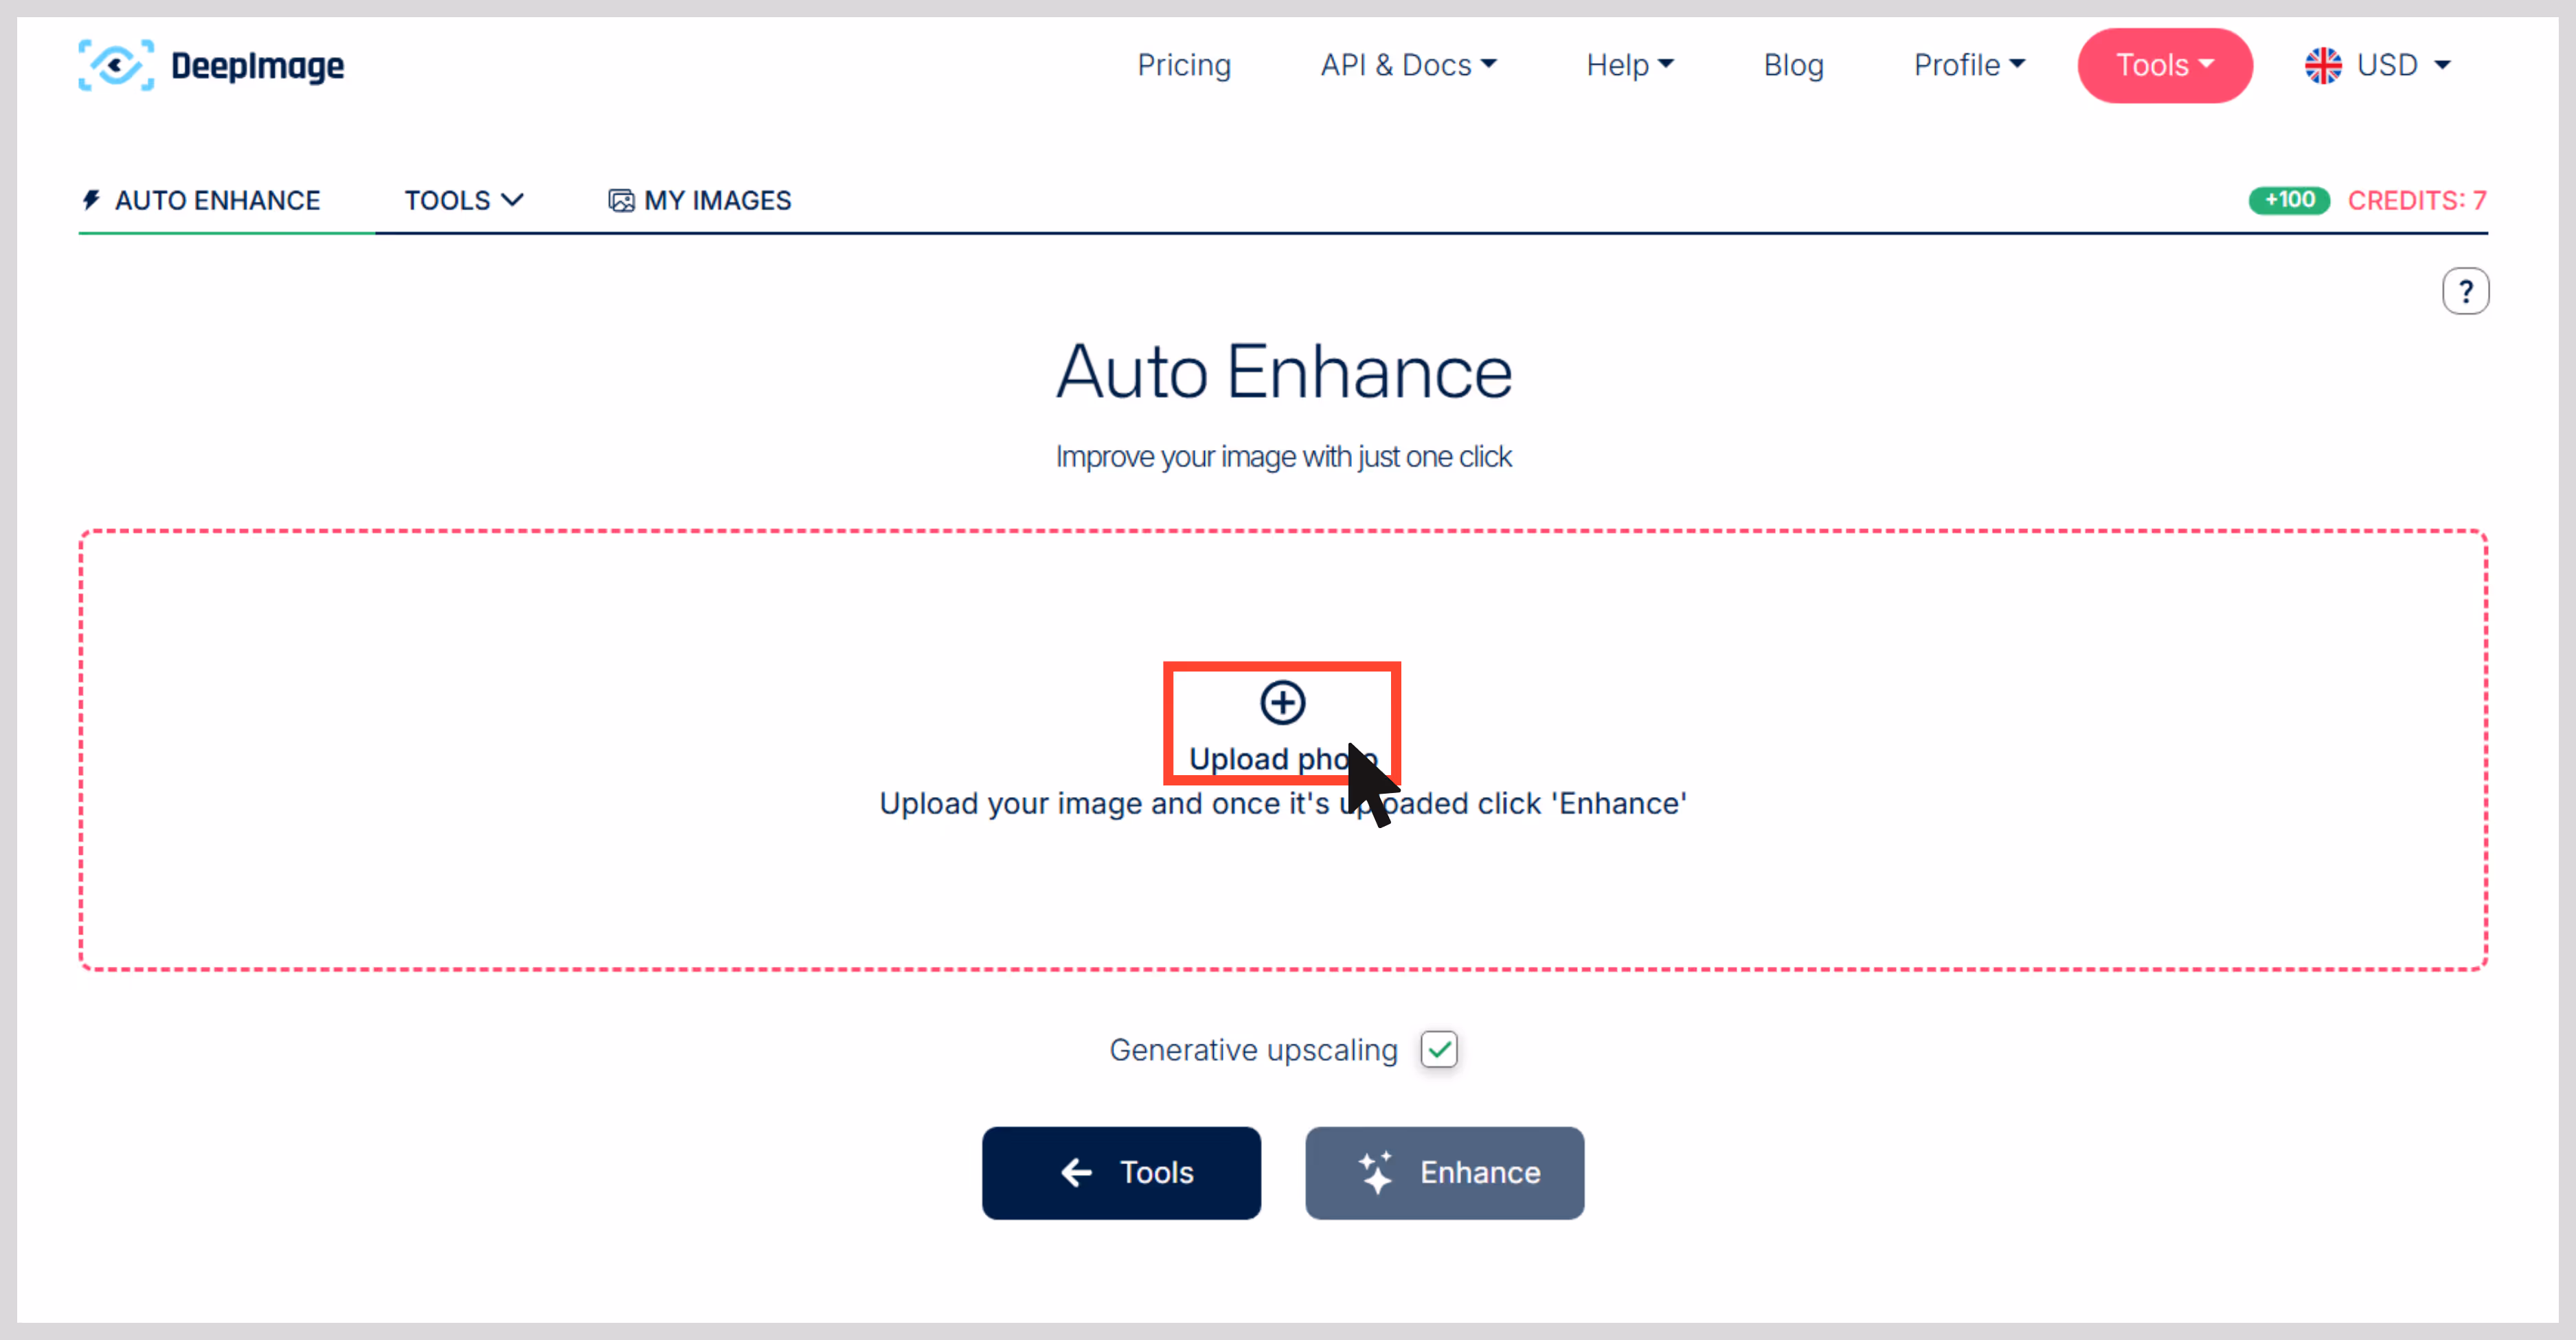
Step 1: Head to the page: https://deep-image.ai/. Here, you have a variety of options to edit your images, but you must first click on the first option, “Auto enhance.”

Step 2: After selecting the option, the tool will prompt you to sign up. Once signed up, you can upload one or multiple images to upscale.
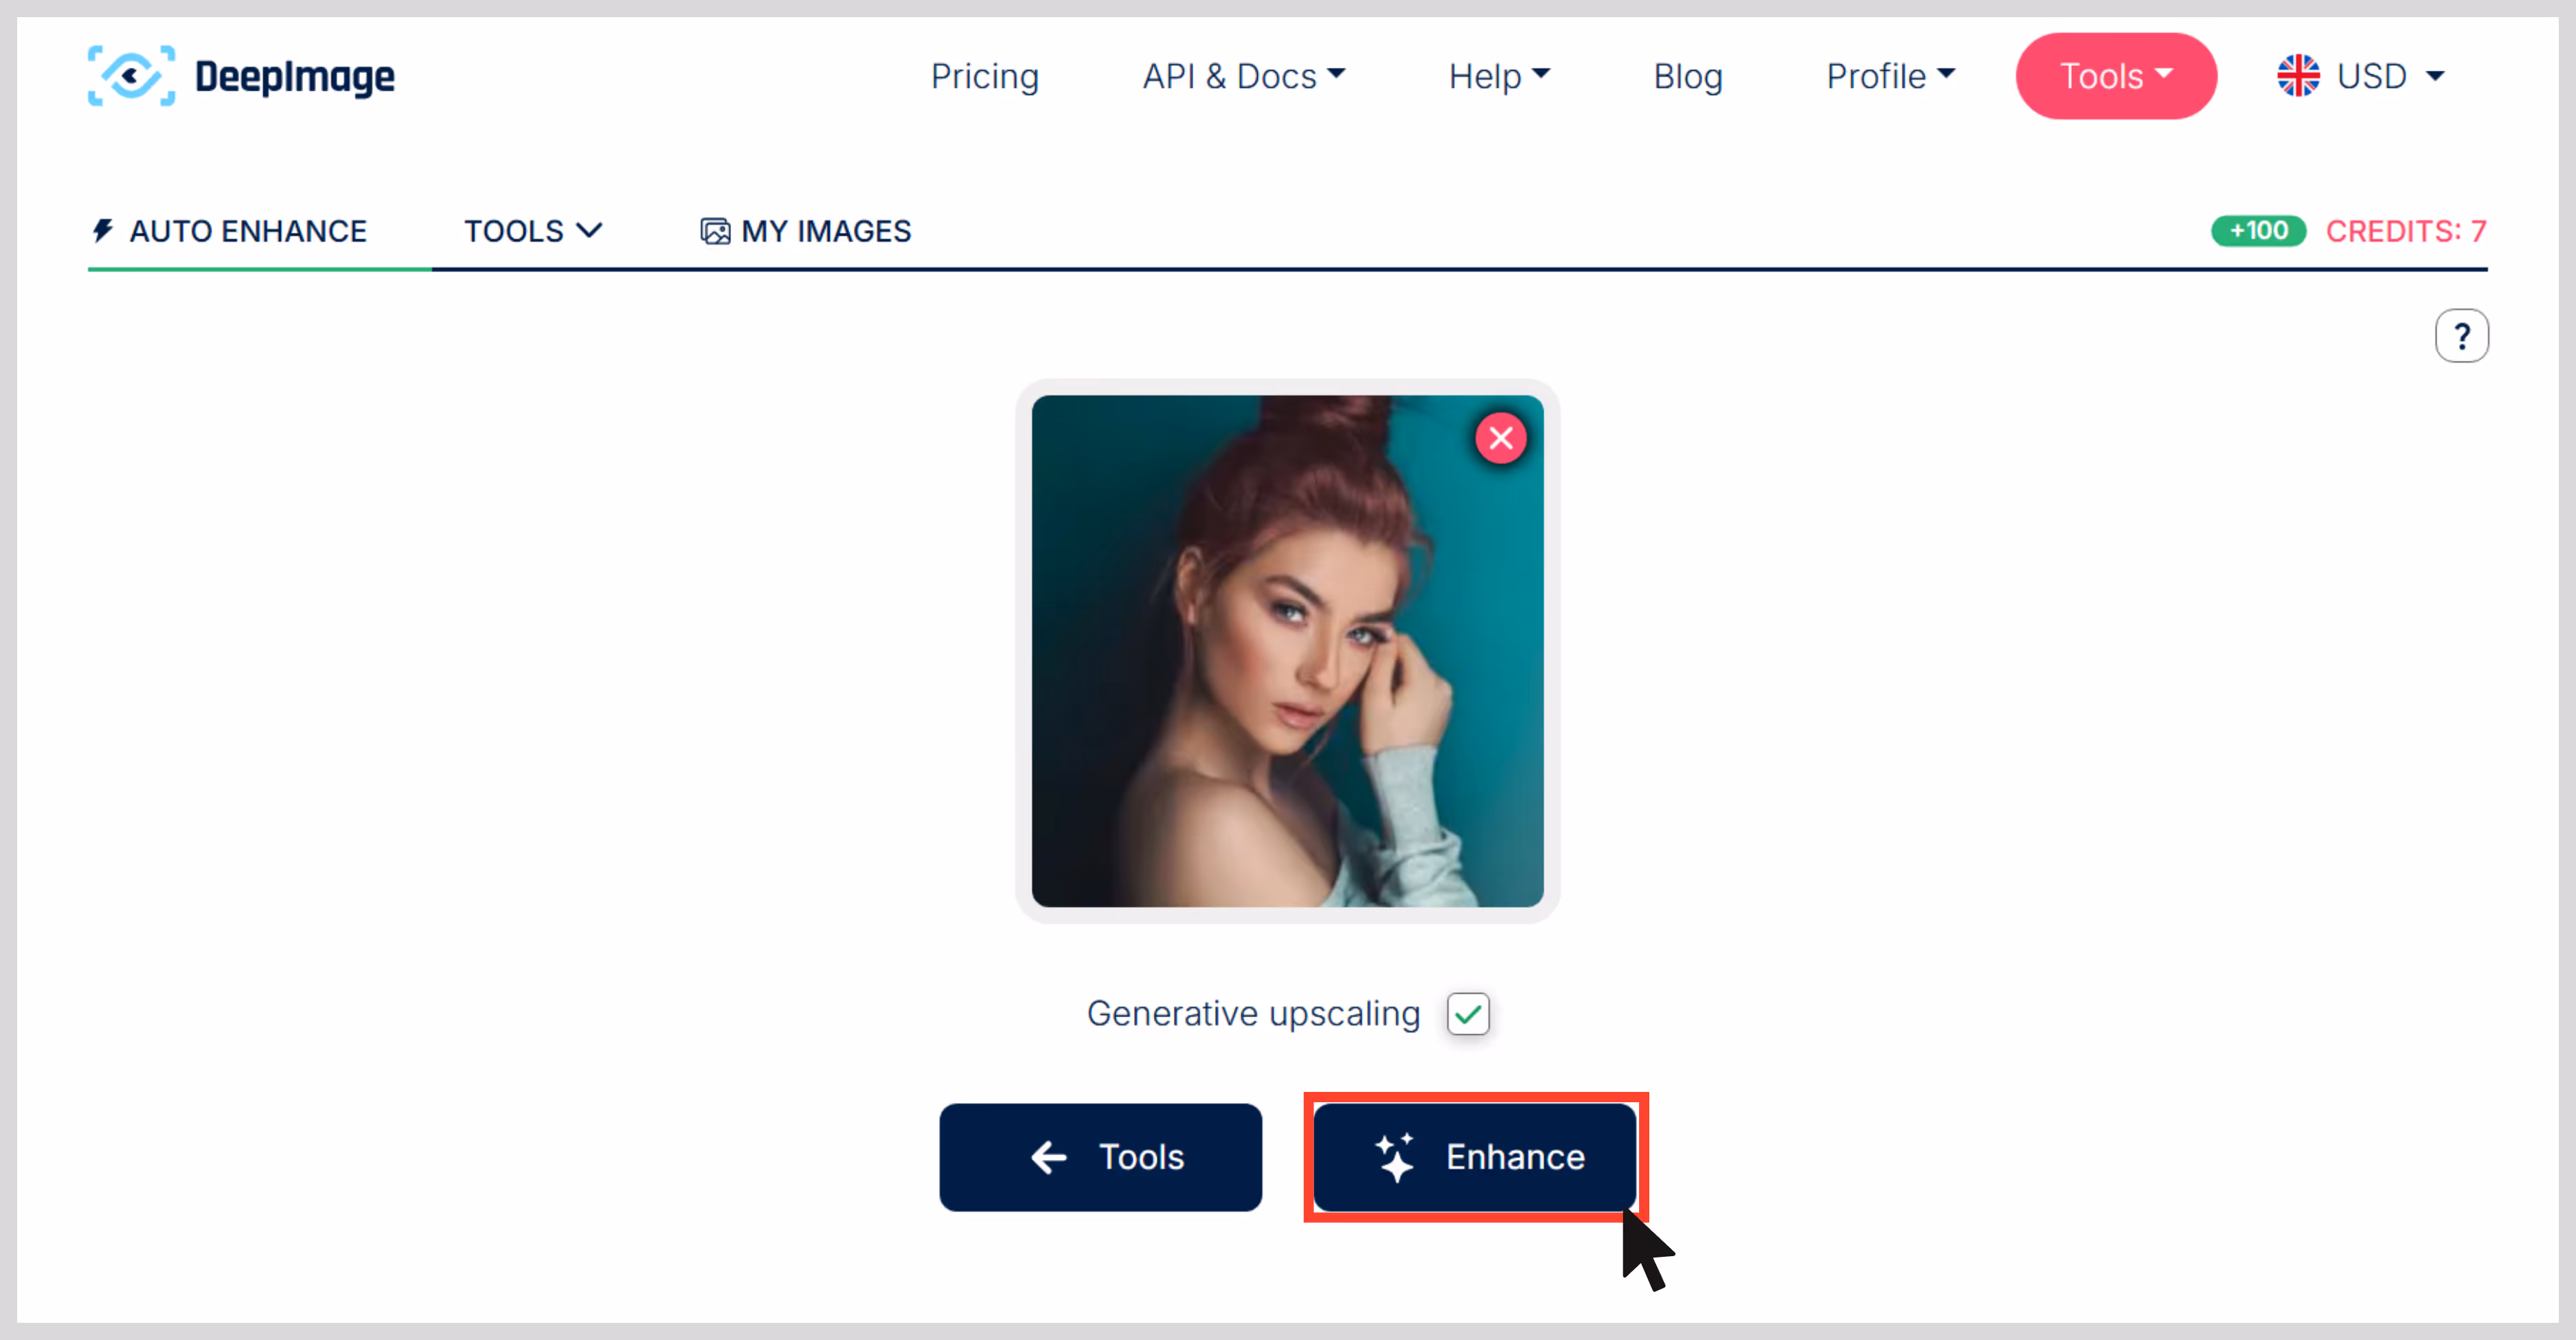
Step 3: Click on “Enhance,” and your image is ready in seconds.
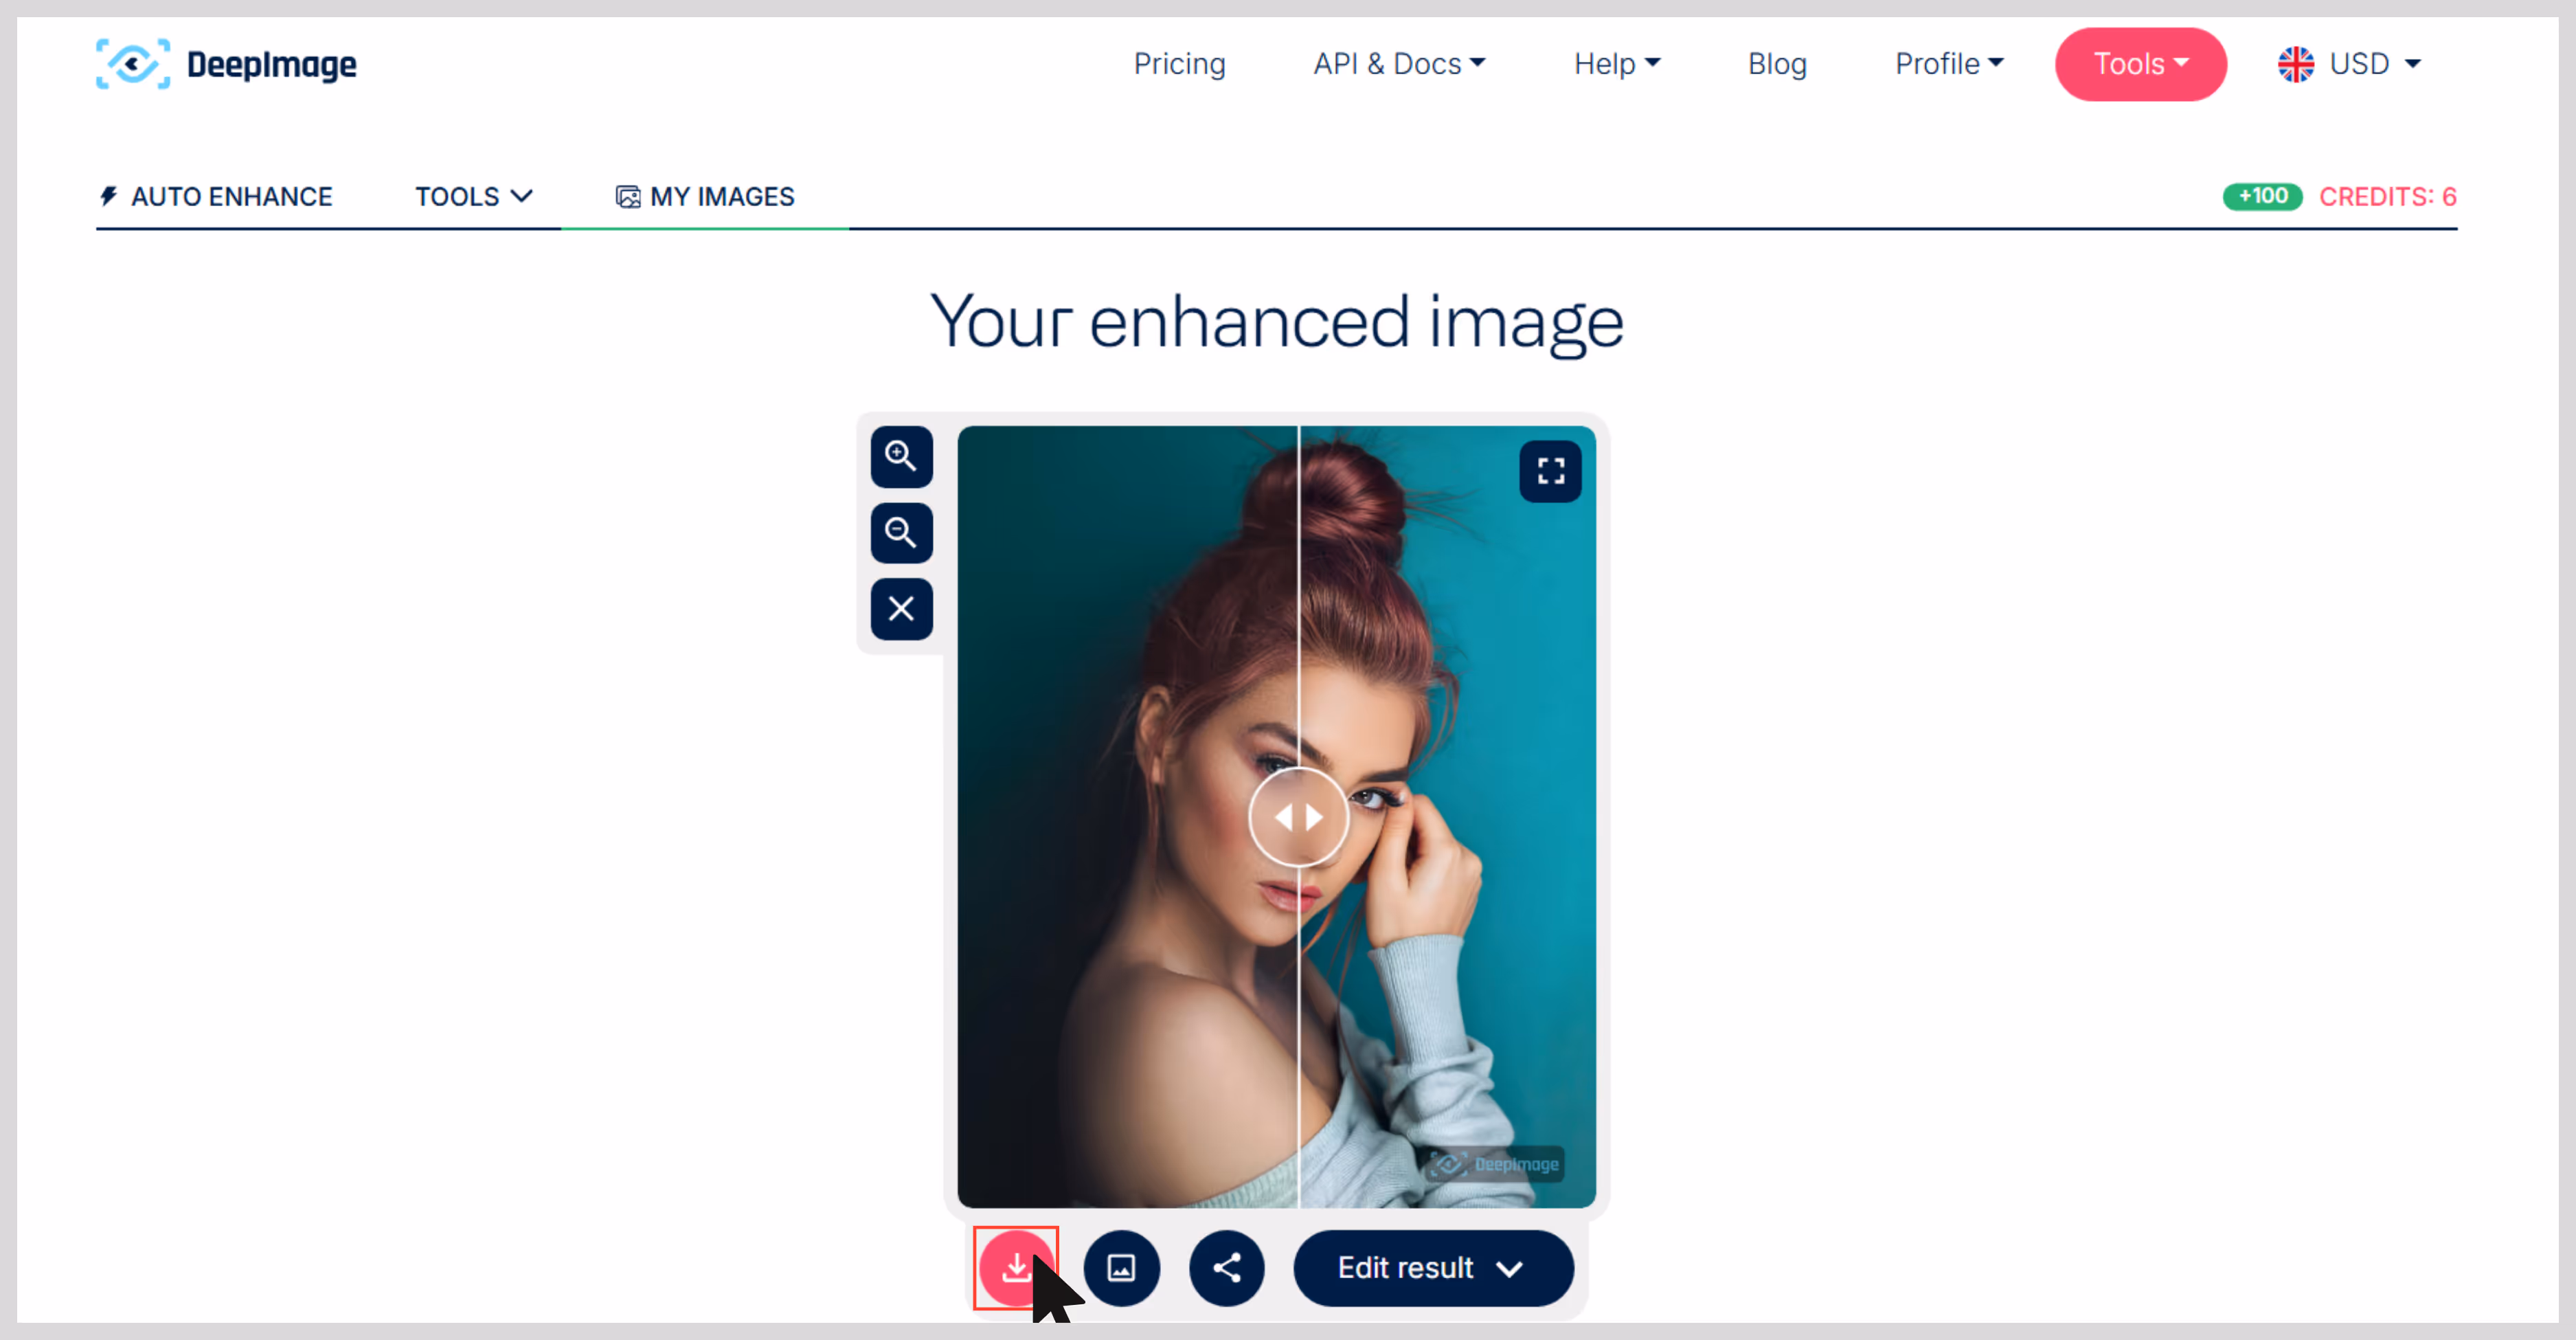
Step 4: Preview and download the images. I have added the before and after results.
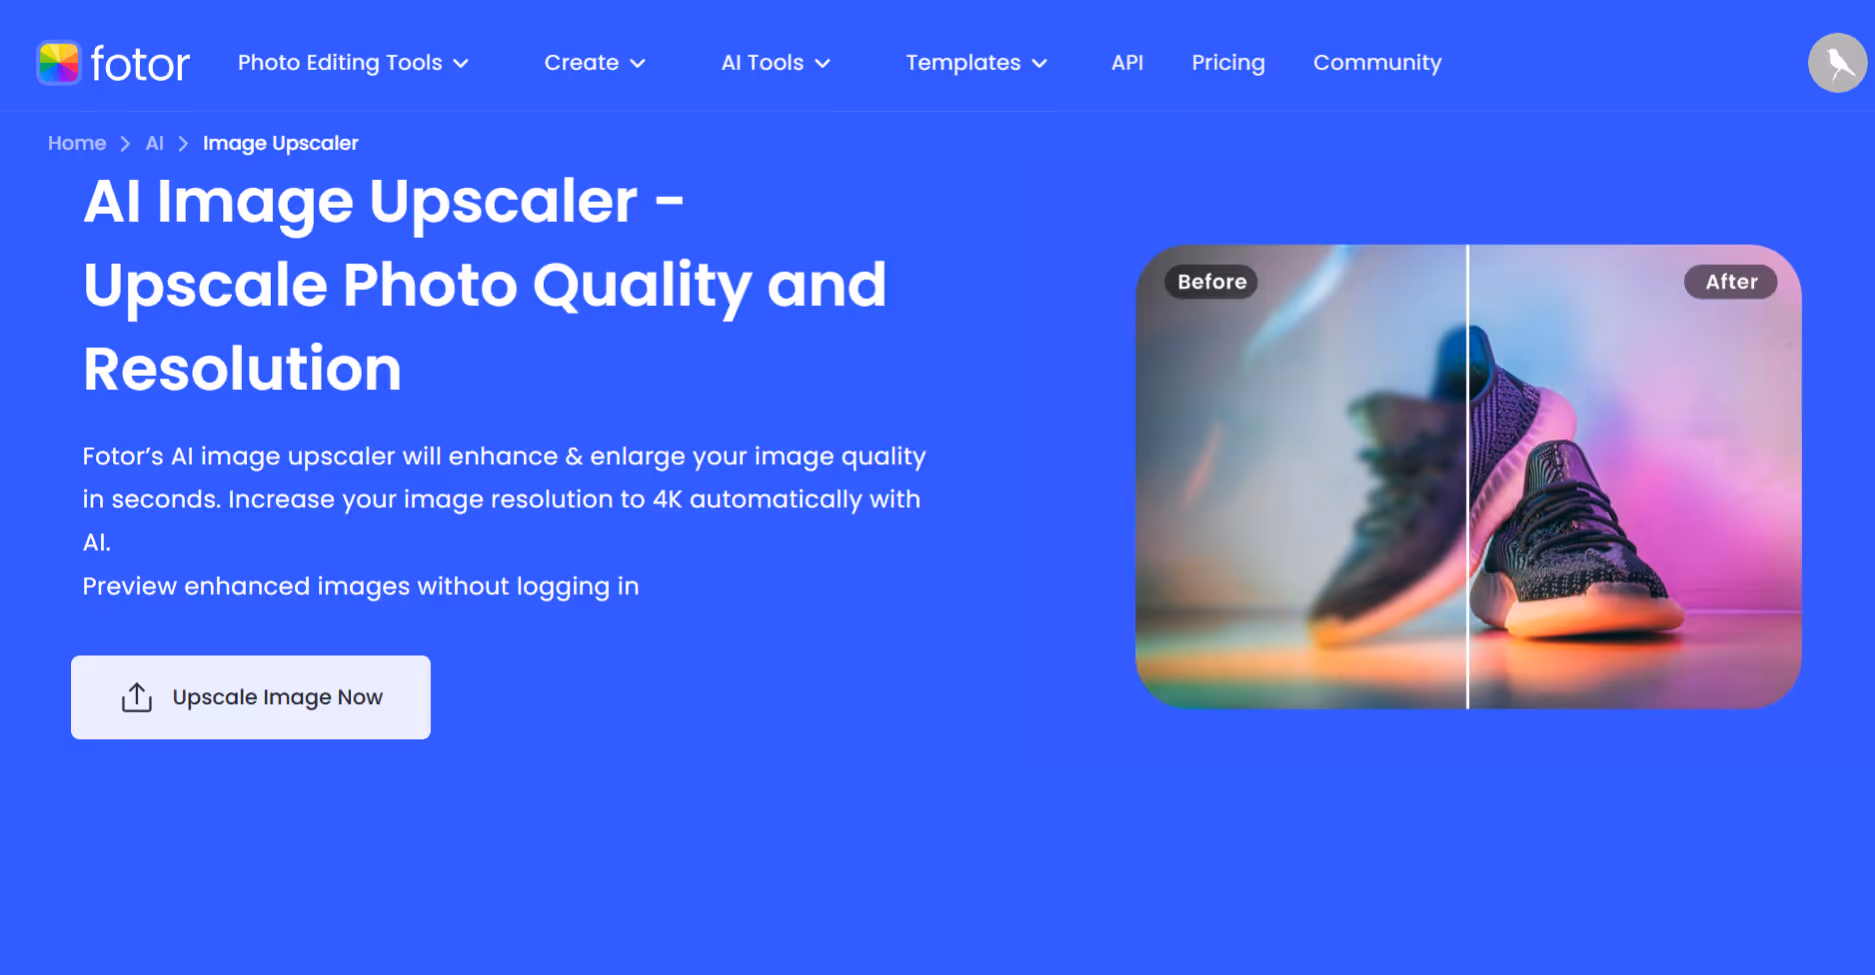
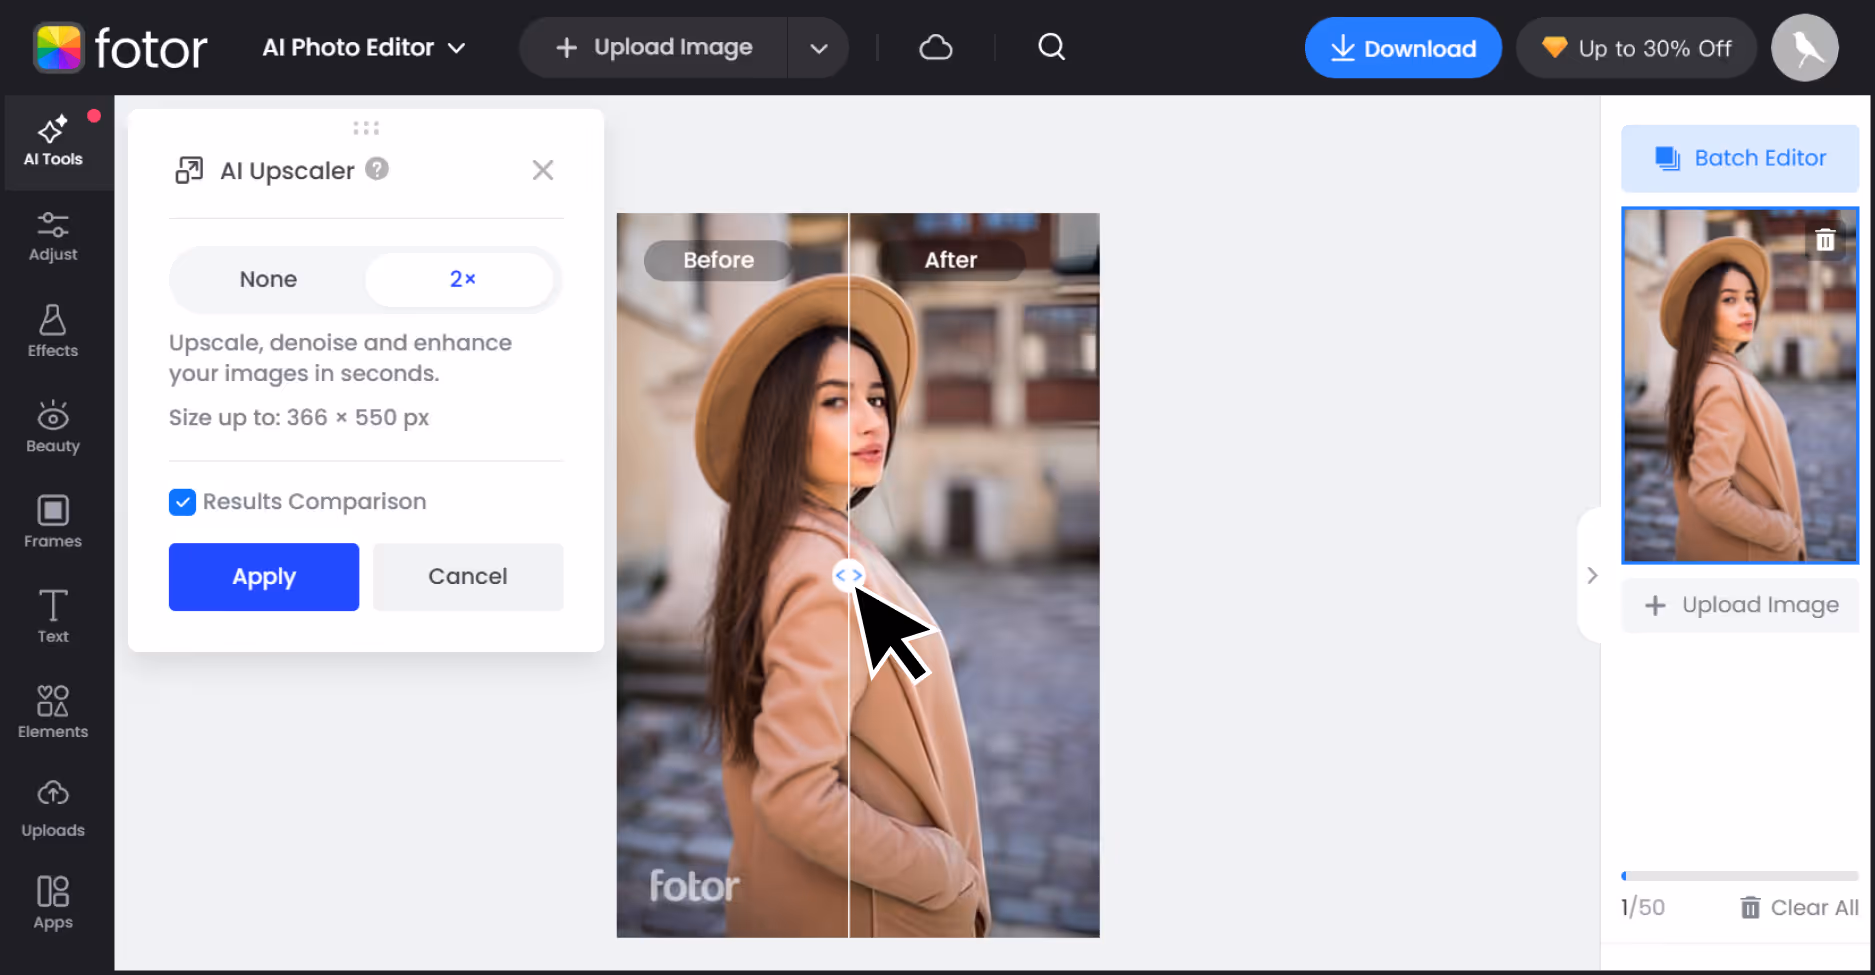
7. Fotor
If you want a fast and simple way to upscale images without deteriorating the quality, Fotor’s AI Image Upscaler is worth trying. I tested it using an image which was a slightly blurry shot with soft edges and poor sharpness.
After running it through Fotor, the upscaled image appeared noticeable. The sharpness improved, and textures improved without distortions. The tool supports upscaling up to 8x, but only 2x is a part of the free plan.
After the image upscaling process was done it performed, and I’d say Fotor holds its own, especially for casual users or quick fixes where you want clarity without diving into complex editing tools. What I liked about the tool;
- You can upscale with a single click—no advanced settings or inputs needed.
- It includes built-in noise reduction, which helps reduce visual grain.
- There’s a preview window, so you can compare before and after before downloading.
- It processes quickly, even at higher scales.
How to upscale an image in Fotor?
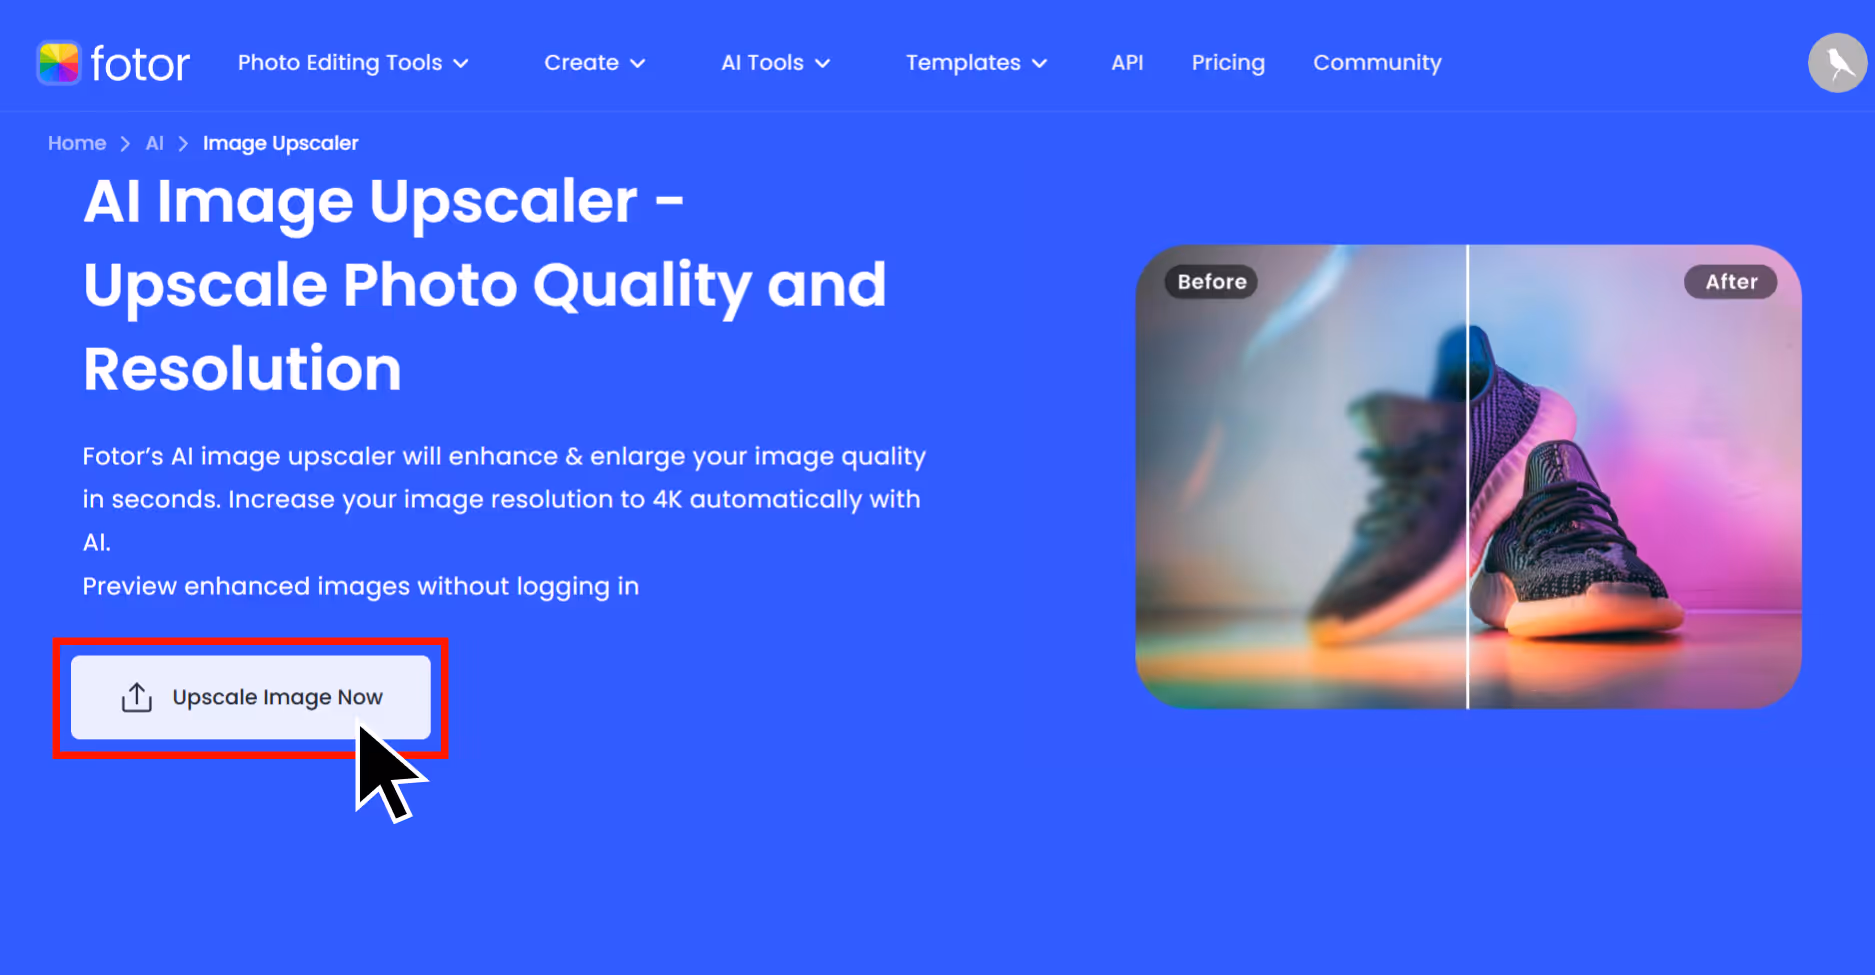
Step 1: Go to https://www.fotor.com/image-upscaler.
Step 2: Click to “Upscale Image now”.
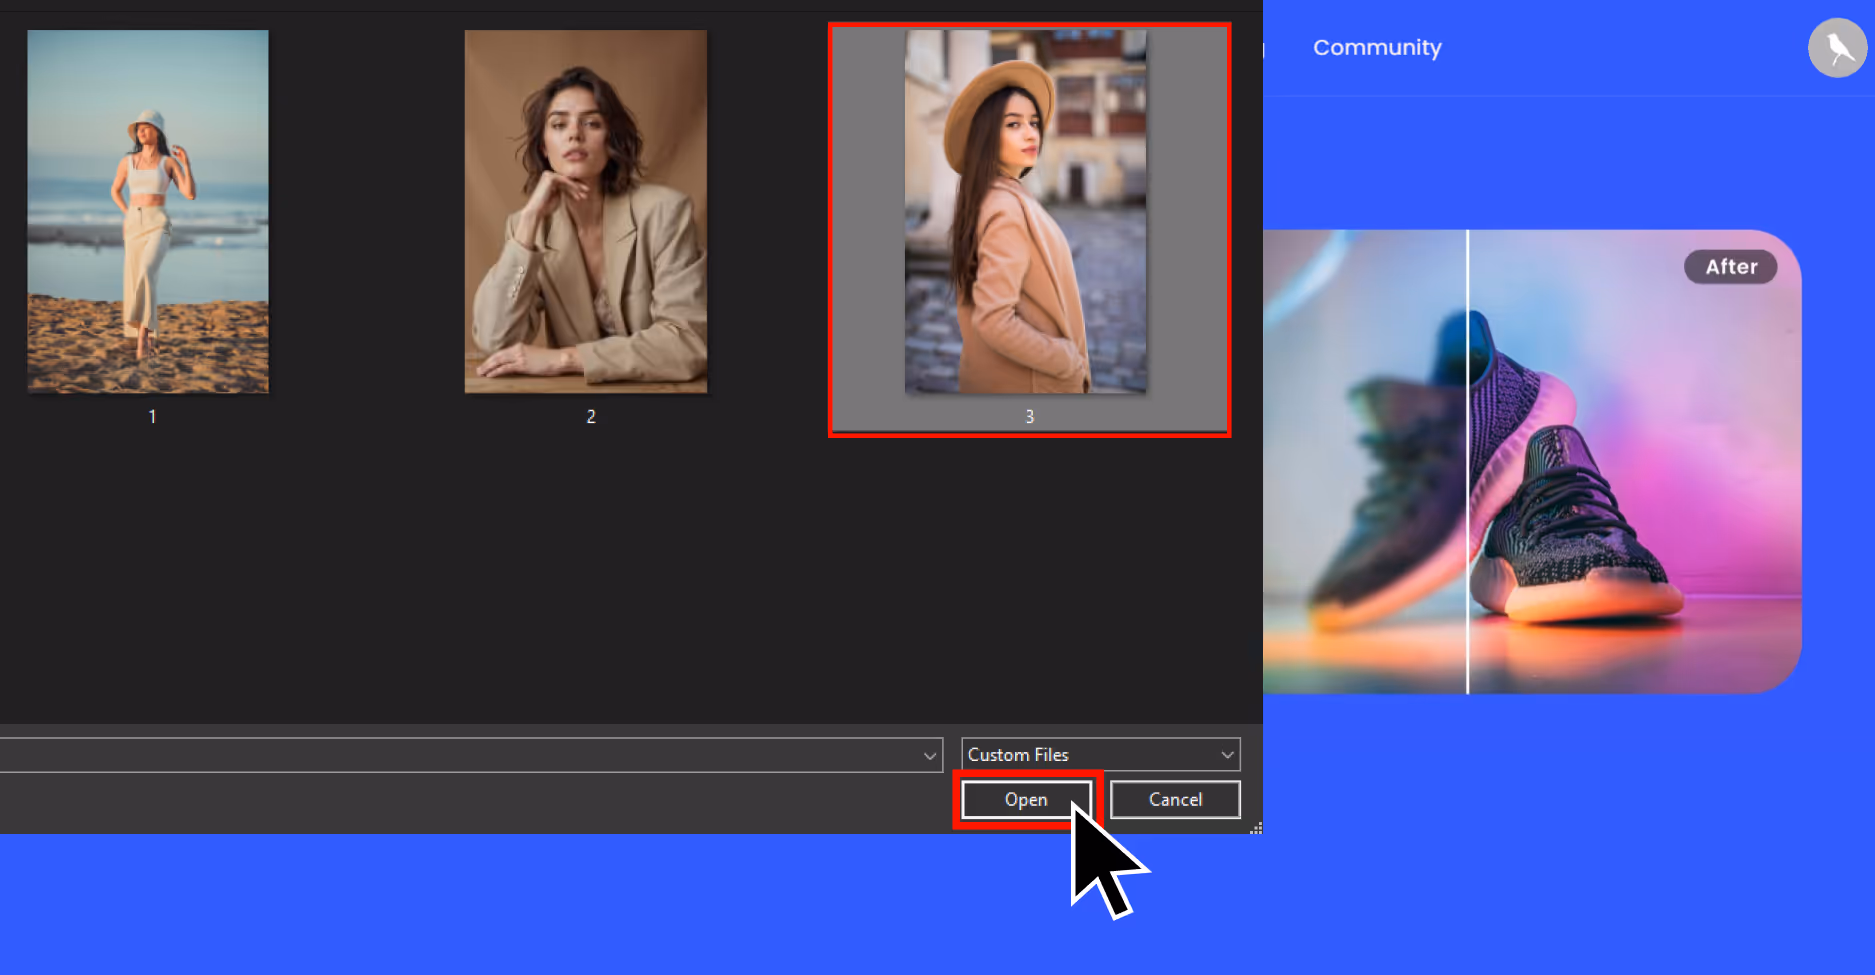
Step 3: Upload your image – I used a JPG that was 275x183 pixels.
Step 4: Choose the upscale factor, usually 2x is for free, and 4x or 8x are a part of the premium plan. For testing the tool, I used 2x, and my image went to 550x366 pixels.
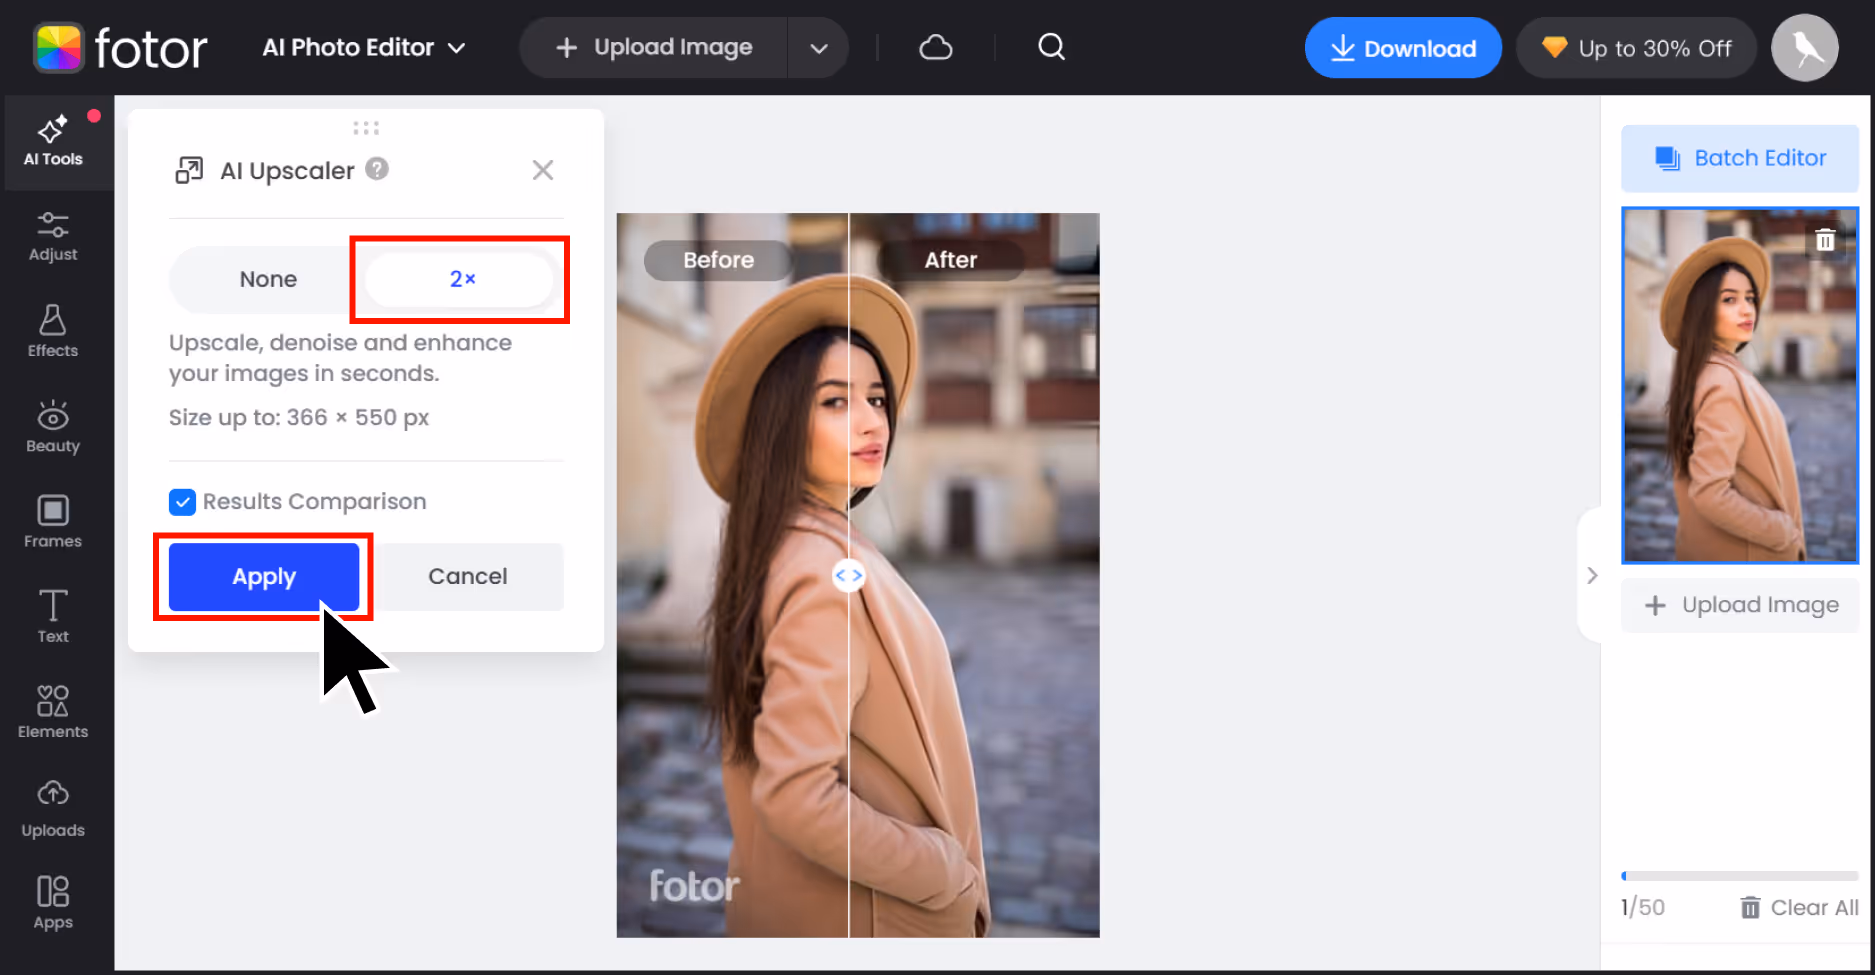
Step 5: Wait for the processing time, once done, preview and download.
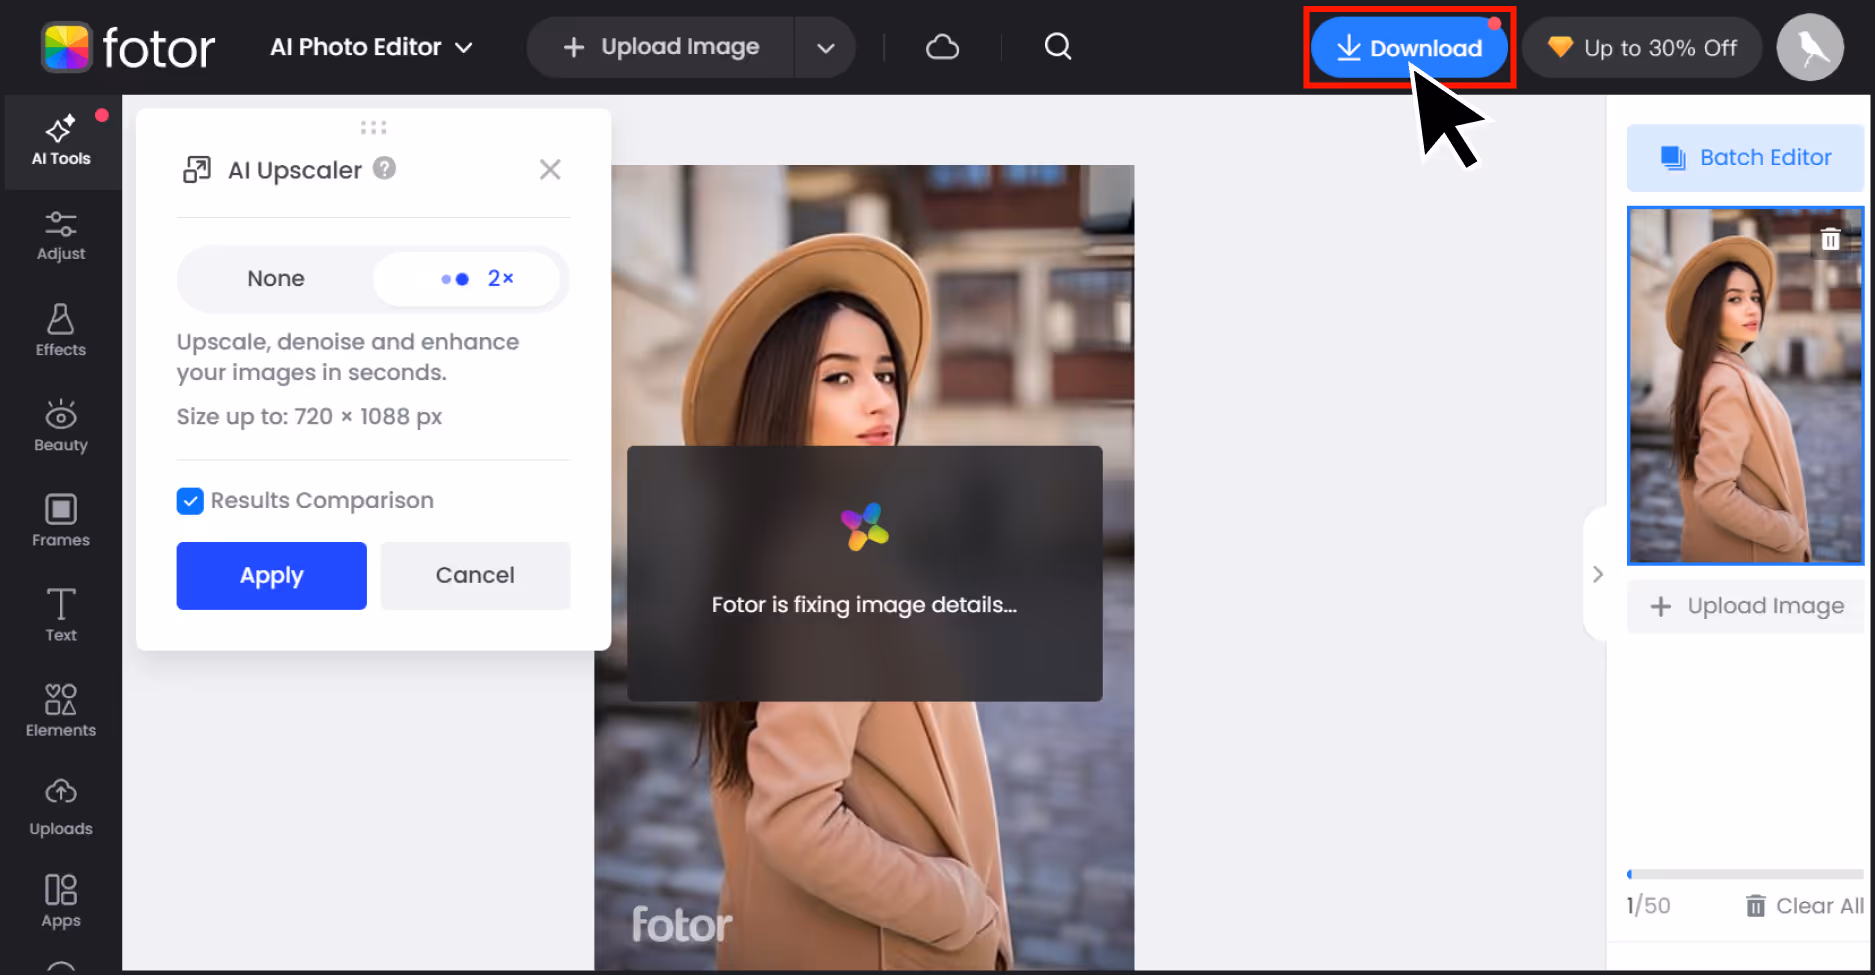
Step 6: You can use the before and after sliders to compare.
Final thoughts
Thus, Upscaling an image is the process of adding pixels to missing details of an image and upscaling it while maintaining the quality. if you're looking for the best AI image upscaler, then Pixelbin is a great option as its fast, reliable and handles upscaling really well. For beginners as well as professionals, I recommend Pixelbin as an AI tool to upscale images. It's one of the simplest, fastest, and most user-friendly tools that provide the best results.
Every aforementioned tool excels in its own way, like Fotor, Upscale.media but ultimately, the right selection of an AI tool depends on your use need— whether it's speed, creative editing, or social sharing.
FAQs
It means increasing the resolution of a photo to make it larger and clearer. With AI, this also involves enhancing details and textures.
Yes, especially when done using AI. Traditional methods just resize, while AI tools enhance clarity and sharpness.
Upscale refers to increasing image size. Enhance refers to improving brightness, contrast, sharpness, or color. AI upscalers often do both.
Yes! Tools like Pixelbin, Upscale.media, and Fotor offer free credits or no-login access to upscale images easily.
Definitely. AI upscaling uses trained models to predict missing image details, offering results that are sharper and more realistic.
In MidJourney, upscaling refers to increasing the size and detail level of an AI-generated image. It adds clarity and sharpness using the internal model.